Parts of a Sewing Machine and What Each One Does (2026)
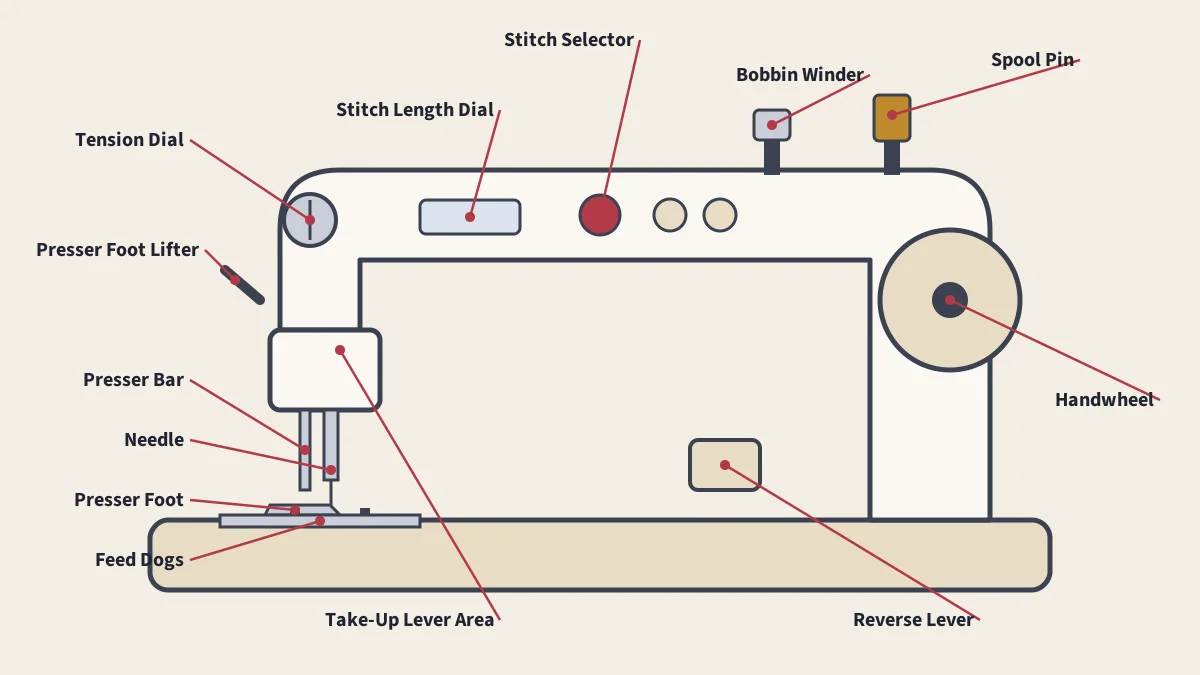
Sewing machines vary by brand and age, but almost all of them share the same core parts. Learn their names and jobs and your manual, troubleshooting guides and pattern instructions all become easier to follow.
In This Article
Parts in Brief
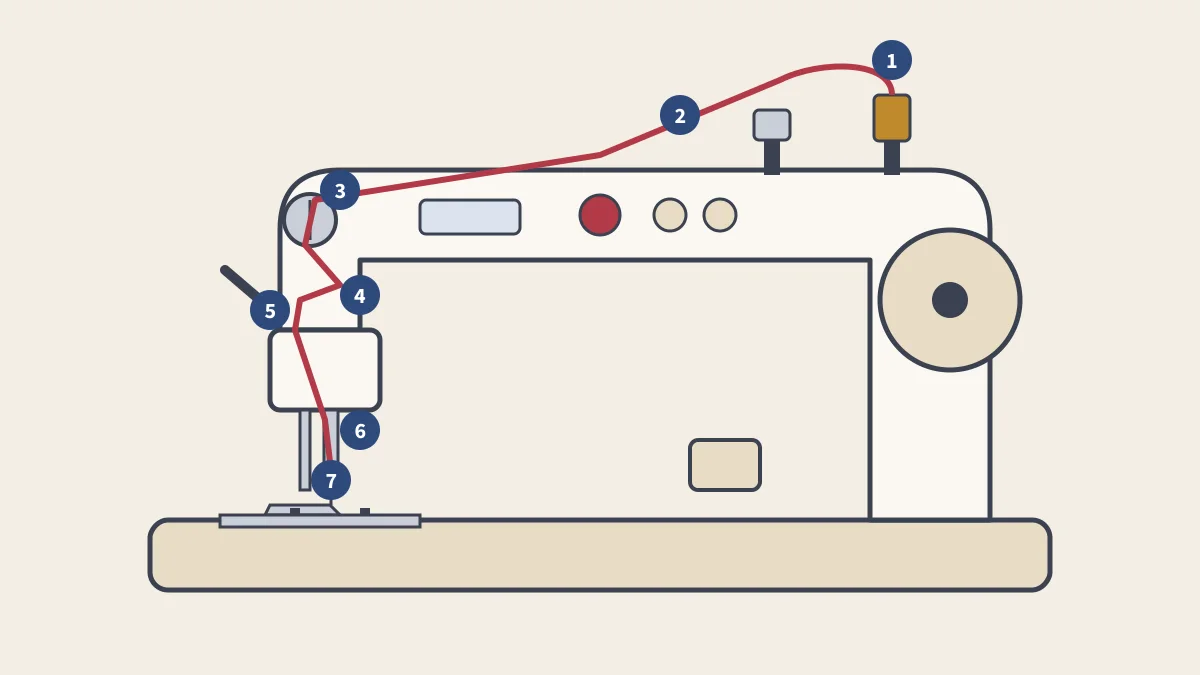
- Thread path: spool pin, thread guides, tension discs, take-up lever, needle
- Sewing area: needle, presser foot, feed dogs, needle plate
- Underneath: bobbin, bobbin case and hook
- Controls: stitch selector, length and width, reverse, tension
- Power: motor, handwheel and foot pedal
Open any sewing machine manual and the first page is usually a diagram of parts. The names can feel like a new language, but every part has a simple job. Together they guide two threads, the upper thread from the spool and the lower thread from the bobbin, and lock them together in the fabric. Our article on how a sewing machine works shows that process step by step.
The Upper Thread Path
These parts carry the top thread from the spool to the needle, in the order the thread passes through them.
| Part | What It Does |
|---|---|
| Spool pin | Holds the spool of thread, either upright (vertical) or lying on its side (horizontal). A spool cap holds it in place on horizontal pins. |
| Thread guides | Small hooks and slots that keep the thread on its path and stop it from tangling. |
| Tension discs | Two discs that squeeze the thread to control how much of it is pulled into each stitch; set by the tension dial. |
| Tension dial | Adjusts how tightly the discs grip the upper thread. See stitch length and tension. |
| Take-up lever | An arm that moves up and down, pulling thread from the spool and tightening each stitch. |
| Needle bar thread guide | The last guide above the needle, keeping the thread close to the needle. |
| Needle | Carries the upper thread through the fabric; its eye is near the point. See sewing machine needles. |
The Sewing Area
| Part | What It Does |
|---|---|
| Needle bar | The vertical bar that moves the needle up and down; the needle is held in it by a needle clamp screw. |
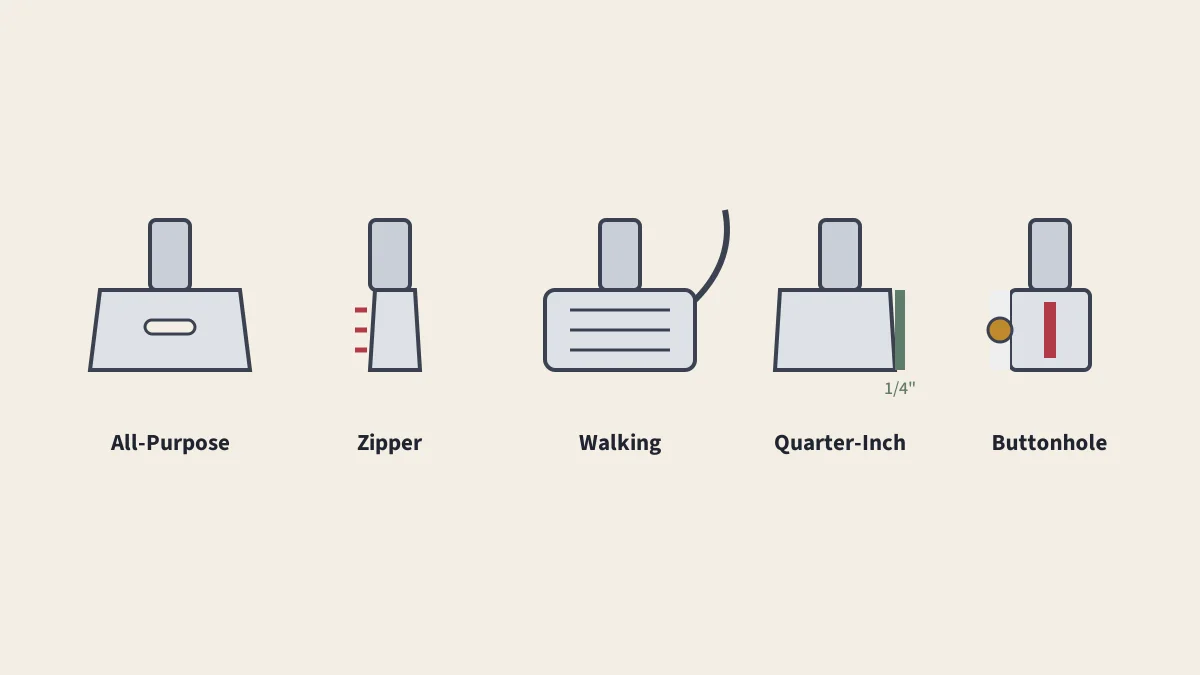
| Presser foot | Holds fabric flat against the feed dogs while stitching. Feet are interchangeable; see our presser feet guide. |
| Presser bar and lifter | The bar holds the foot; the lever behind or beside it raises and lowers the foot. |
| Feed dogs | Toothed metal bars under the foot that move the fabric along between stitches. Most machines let you lower them for free-motion sewing. |
| Needle plate (throat plate) | The metal plate under the needle, with a hole or slot for the needle and seam allowance guide lines marked on it. |
| Thread cutter | A small blade, often on the side of the needle head, for cutting threads after a seam. |
Almost all household machines move fabric with this drop-feed system: the feed dogs rise through the plate, move the fabric, and lower again while the needle passes through.
Under the Needle Plate: The Bobbin System
| Part | What It Does |
|---|---|
| Bobbin | A small spool that holds the lower thread. Machines need the correct type; see bobbin types and classes. |
| Bobbin case | Holds the bobbin and controls the tension of the lower thread with a small screw. |
| Hook (shuttle or rotary hook) | Catches the loop of upper thread and carries it around the bobbin to form the stitch. |
| Bobbin cover or slide plate | Covers the bobbin area on top-loading (drop-in) machines. |
| Bobbin winder | A small spindle on top of the machine for winding thread onto empty bobbins. See how to wind a bobbin. |
Controls
| Control | What It Does |
|---|---|
| Stitch selector | Chooses the stitch pattern: straight, zigzag, stretch, buttonhole and decorative stitches. |
| Stitch length control | Sets how far the fabric moves between stitches, usually in millimeters. |
| Stitch width control | Sets how far the needle swings side to side for zigzag and other wide stitches. |
| Reverse lever or button | Sews backward to lock stitches at the start and end of a seam. |
| Needle position, speed and needle up/down | Extra controls found on many computerized machines. |
Power and Motion
- Handwheel (balance wheel): on the right side of the machine. It turns as the machine runs and can be turned by hand to raise or lower the needle slowly. On almost all home machines, the top of the wheel turns toward you.
- Motor: built into home machines. Industrial machines have separate motors mounted under the table.
- Foot pedal (foot control): controls speed; press harder to sew faster.
- Clutch knob: on many machines, the center of the handwheel loosens so the needle stops while the bobbin winder runs.
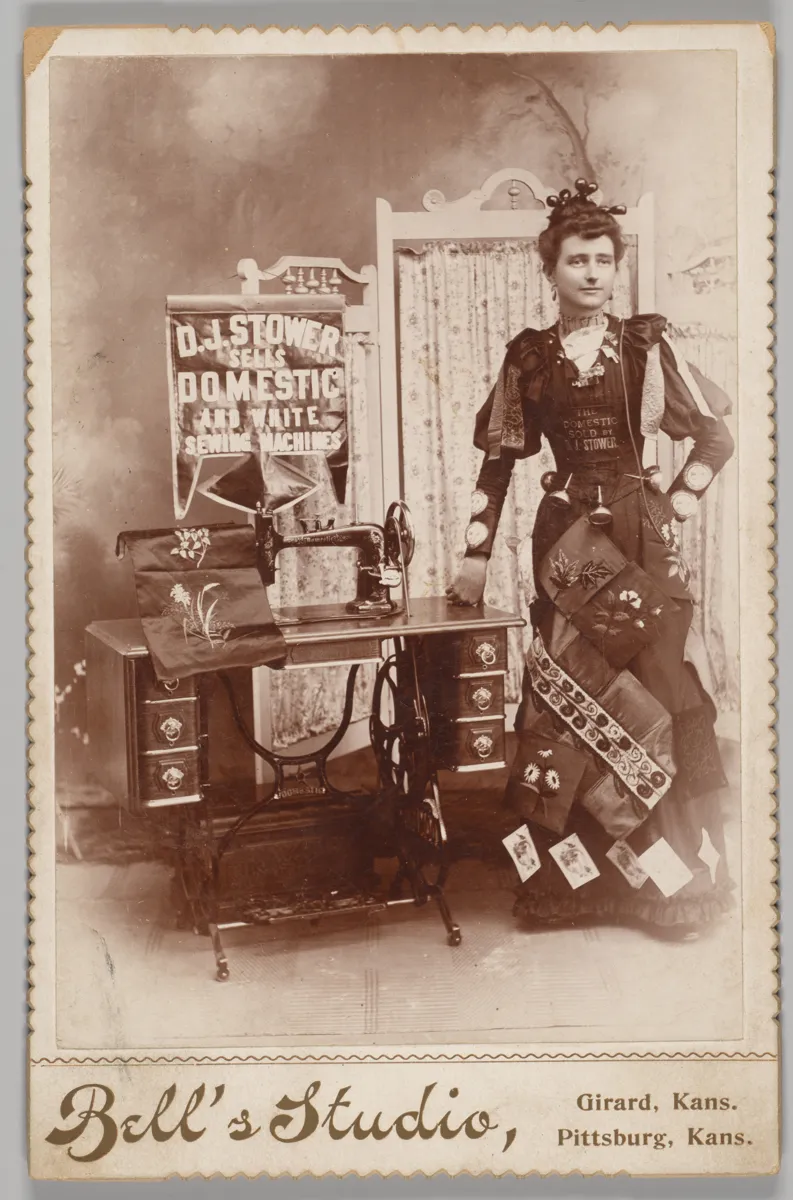
Before electric motors, machines were powered by a hand crank or a foot treadle like the one above: a rocking plate under the table that turned a large wheel connected by a belt to the machine's handwheel. The parts on top of the machine were already much the same as today.
The Body of the Machine
- Arm: the horizontal upper part that houses the drive shaft.
- Pillar: the upright part on the right, joining arm and bed.
- Bed: the flat base the fabric rests on. A free arm machine has a narrow removable section so you can slide sleeves and cuffs around it.
- Throat (harp): the open space between the needle and the pillar. A bigger throat helps with quilts and large projects.
- Light: illuminates the sewing area.
Learn the Parts, Fix the Problems
Most sewing machine problems trace back to one of these parts: thread that missed the take-up lever, a worn needle, lint in the feed dogs, or a bobbin that is the wrong class. Knowing the parts makes our guide to common sewing machine problems far easier to use, and our step-by-step guide to threading a sewing machine follows the thread path described above. Always check your own manual too, because layouts vary between brands and models.
Sources
- Sewing machine, Wikipedia
- Merchants' Carnival Portrait: D. J. Stower, The Metropolitan Museum of Art
Frequently Asked Questions
What are the main parts of a sewing machine?
The spool pin, thread guides, tension discs, take-up lever, needle and needle bar, presser foot and presser bar, feed dogs, needle plate, bobbin and bobbin case, handwheel, stitch controls and the foot pedal.
What do feed dogs do?
Feed dogs are the small toothed metal bars under the presser foot. They rise through the needle plate, grip the fabric against the presser foot, move it backward one stitch length, then drop down and return, moving the fabric between stitches.
What is the take-up lever?
The take-up lever is the arm that moves up and down above the needle. It pulls slack thread back up after each stitch, tightening the stitch. If the thread misses the take-up lever, loops of thread tangle under the fabric.
Which way should the handwheel turn?
On almost all home machines, the top of the handwheel turns toward you. Turning it the other way can jam the thread in the bobbin area.
Keep Reading
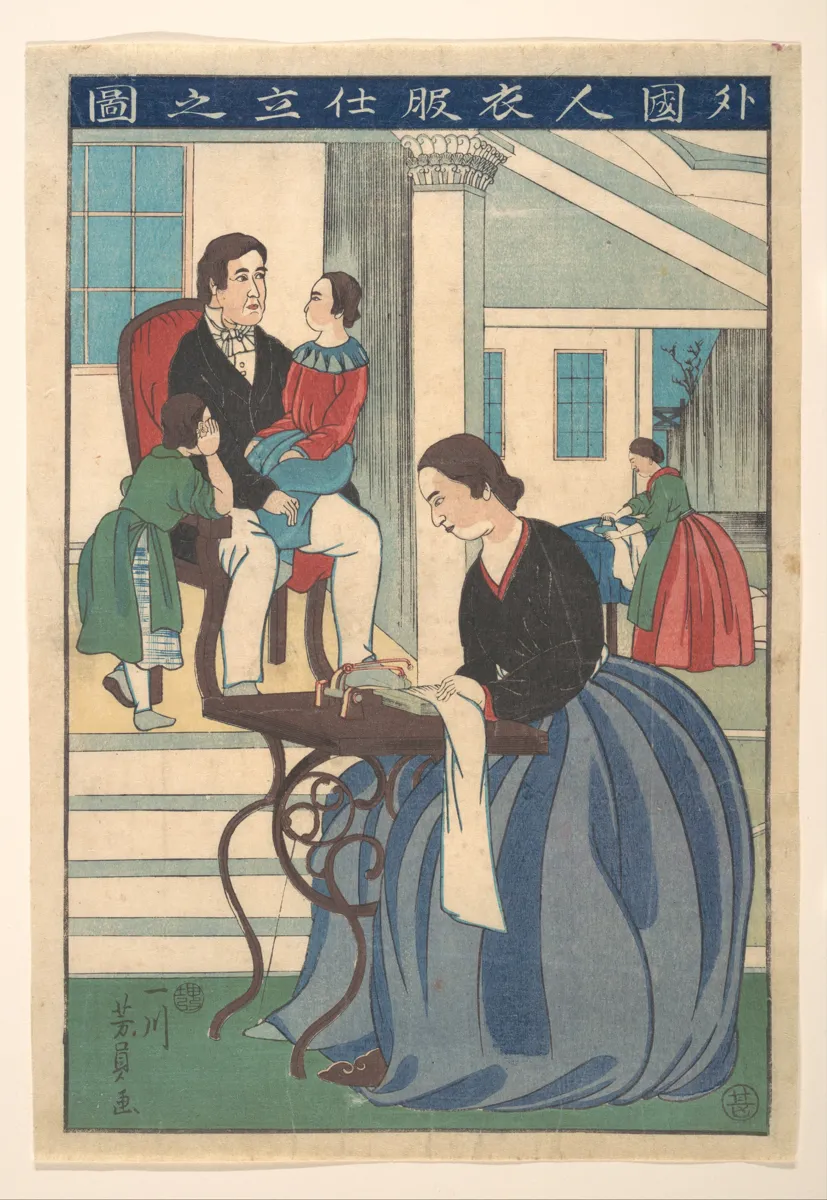
Types of Sewing Machines
Every type of sewing machine explained, from mechanical to industrial.
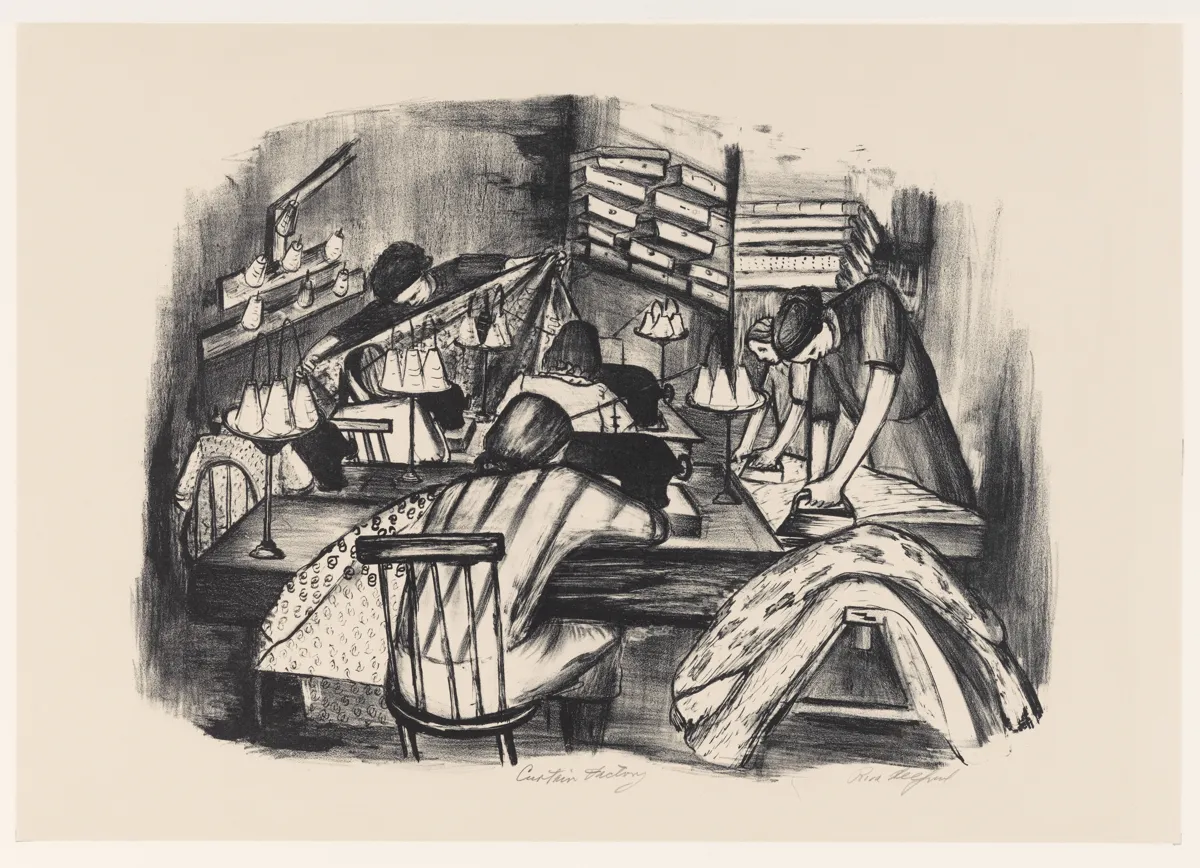
How a Sewing Machine Works
The lockstitch step by step: needle, hook, bobbin and feed dogs.
How to Thread a Sewing Machine
The thread path step by step, plus the habits that prevent tangles.
Presser Feet Guide
What each presser foot does and how to check it fits your machine.