How to Sew on Buttons and Snaps That Last (2026)
A loose button is one of the most common mending jobs. A few small habits, such as using doubled thread, making a thread shank and securing the ends, make buttons and snaps stay put for years.
In This Article
Buttons and Snaps in Brief
- Thread: strong, doubled, or button thread
- Flat buttons: need a thread shank on thick fabric
- Shank buttons: already have their own shank
- Coats: add a backing button
- Snaps: ball on top, socket underneath
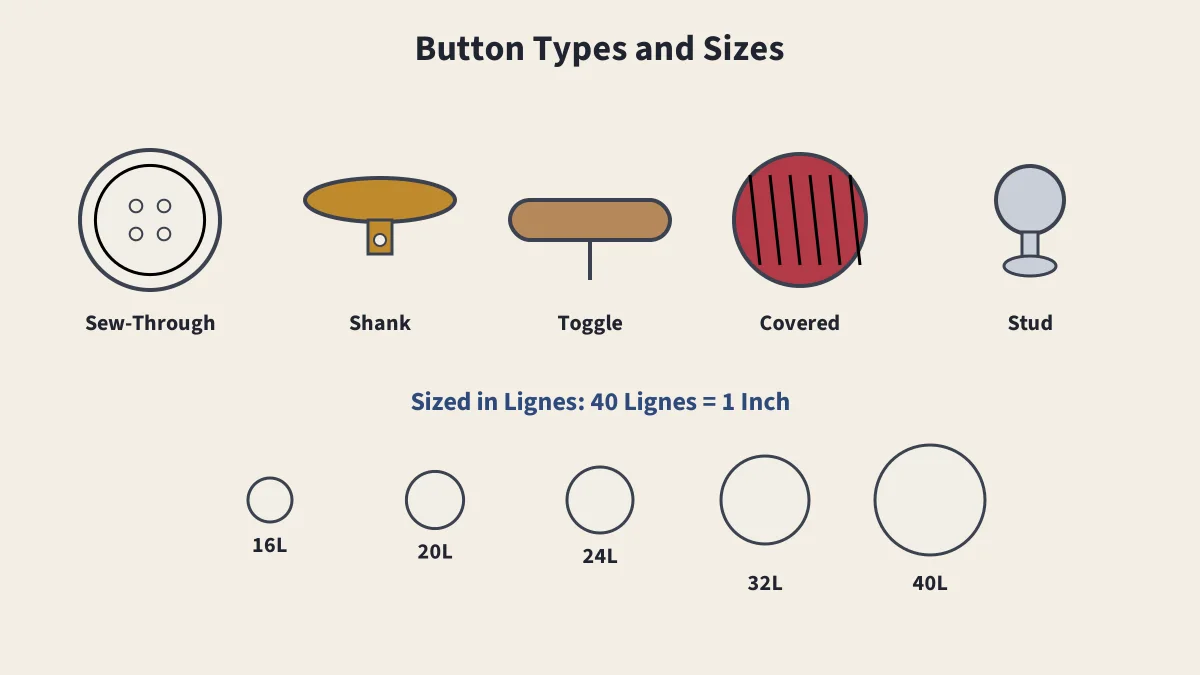
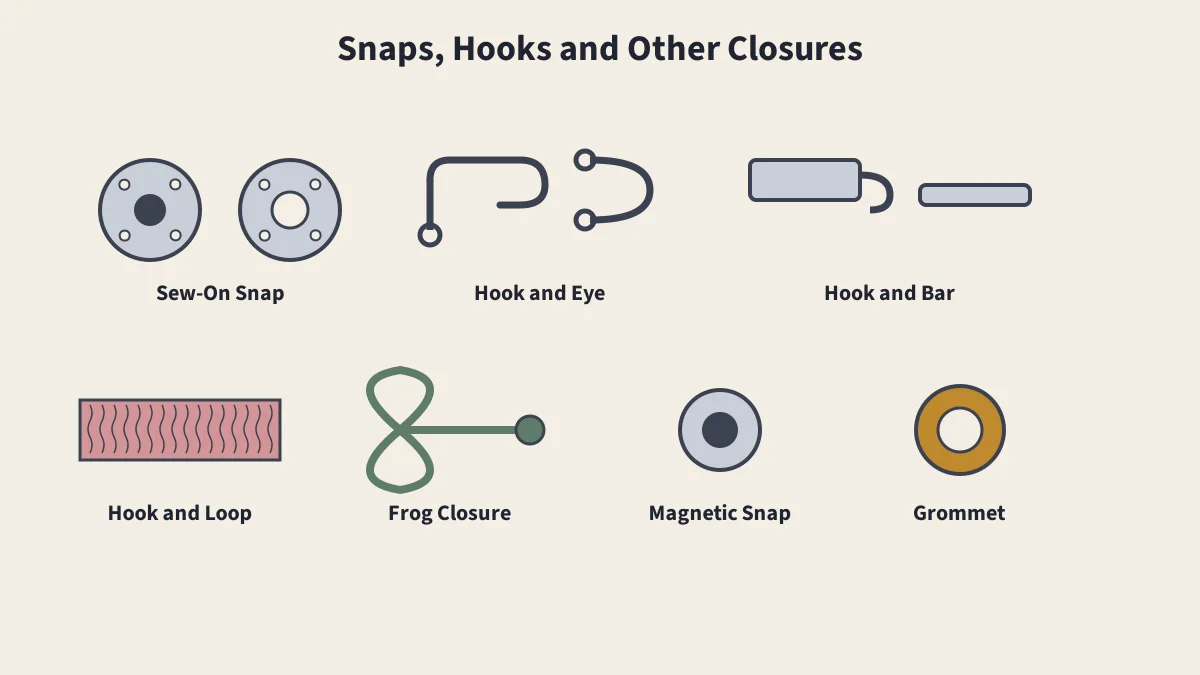
For the types of buttons and how they are sized, see buttons: types, sizes and history, and for snaps and hooks, see snaps, hooks and other closures. This guide covers the sewing itself.
What You Need
- A hand needle that passes through the button holes; see hand sewing needles.
- Strong thread matched to the garment: doubled all-purpose thread or button thread; see types of thread.
- A pin, toothpick or matchstick to use as a spacer.
- Optional: a thimble and a small backing button.
Sewing on a Flat (Sew-Through) Button
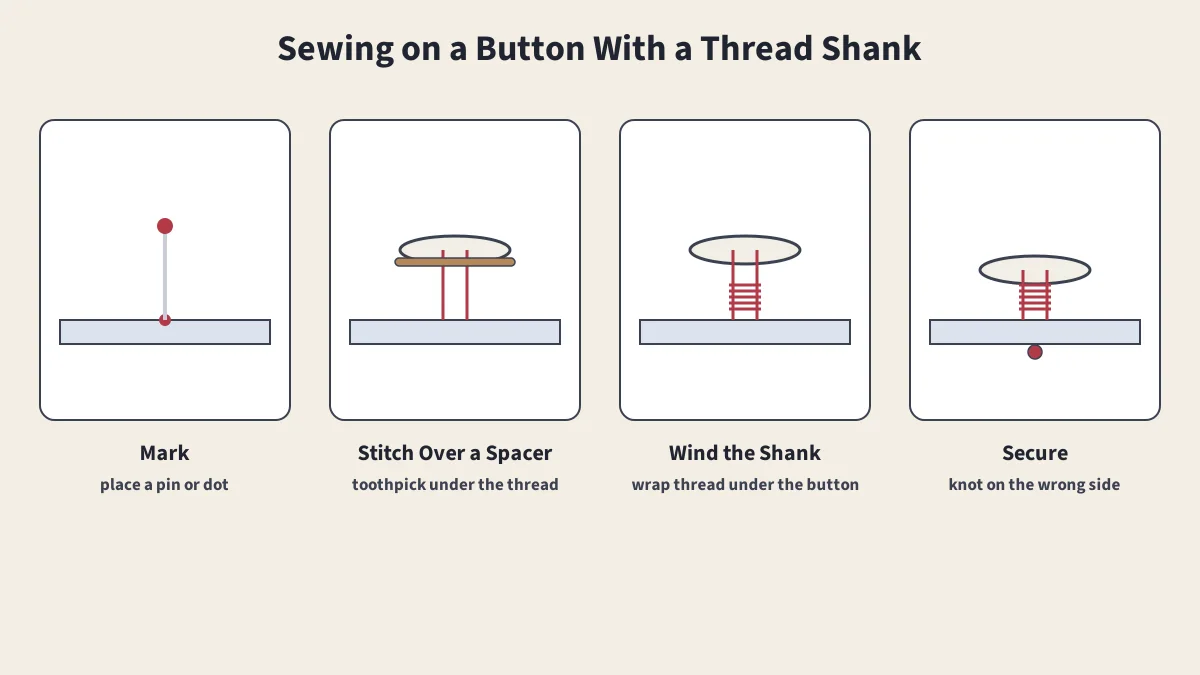
- Mark the position by pushing a pin through the buttonhole into the layer beneath.
- Knot the thread and take a small stitch on the right side where the button will sit, to hide the knot.
- Place a spacer, such as a toothpick, on top of the button between the holes.
- Stitch up through one hole and down through the opposite hole, over the spacer, five or six times. For four-hole buttons, stitch two parallel bars or a cross.
- Remove the spacer and pull the button up to the top of the slack.
- Wind the thread several times around the stitches beneath the button to form a firm shank.
- Secure by passing the needle to the wrong side and making several small stitches or a knot.
Sewing on a Shank Button
- Mark the position as above.
- Orient the shank so it lines up with the buttonhole.
- Stitch through the shank and fabric several times, keeping stitches small on the wrong side.
- Secure on the wrong side.
Adding a Backing Button
On coats, jackets and heavy fabrics, sew a small flat button on the wrong side at the same time as the main button, stitching through both. It spreads the strain and stops the button pulling a hole in the fabric.
Sewing on Snaps
- Position the ball half on the underside of the overlapping layer, so it won't show on the outside.
- Stitch through each hole in the rim with three or four small stitches, carrying the thread under the snap to the next hole.
- Mark the socket position by pressing the ball onto the underlap, or with chalk on the ball.
- Stitch the socket the same way, then knot under the snap.
Hooks and Eyes
Stitch the hook to the overlap, just in from the edge, with several stitches around the hook end and a few under the bill to hold it flat. Stitch the eye on the underlap so the closure lies smooth. Use a straight bar instead of a round eye where edges overlap.
Machine-Sewing Buttons
Many machines can sew flat buttons using a button foot and a zigzag set to the hole spacing, with the feed dogs lowered. Check the swing carefully by turning the handwheel by hand first, so the needle does not strike the button.
Sources
- Button, Wikipedia
- Snap fastener, Wikipedia
Frequently Asked Questions
How do I sew on a button so it doesn't fall off?
Use strong thread, doubled, and make a thread shank: stitch over a pin or toothpick so the button stands slightly off the fabric, then wind the thread around the stitches beneath it and knot securely on the wrong side.
What is a thread shank?
A short column of thread between a flat button and the fabric. It gives the layer with the buttonhole room to sit under the button, so the button lies flat and doesn't strain the fabric.
How do I sew on a snap?
Place the ball half on the overlapping layer and the socket half on the underlap. Make several small stitches through each hole in the rim, carrying the thread under the snap from hole to hole, and finish with a knot hidden under the snap.
What is a backing button?
A small, flat button sewn on the wrong side, directly behind a button on a coat or heavy fabric. It spreads the strain so the button doesn't tear the fabric.
Keep Reading
Buttons
Button types, ligne sizes, materials and history.
Types of Buttonholes
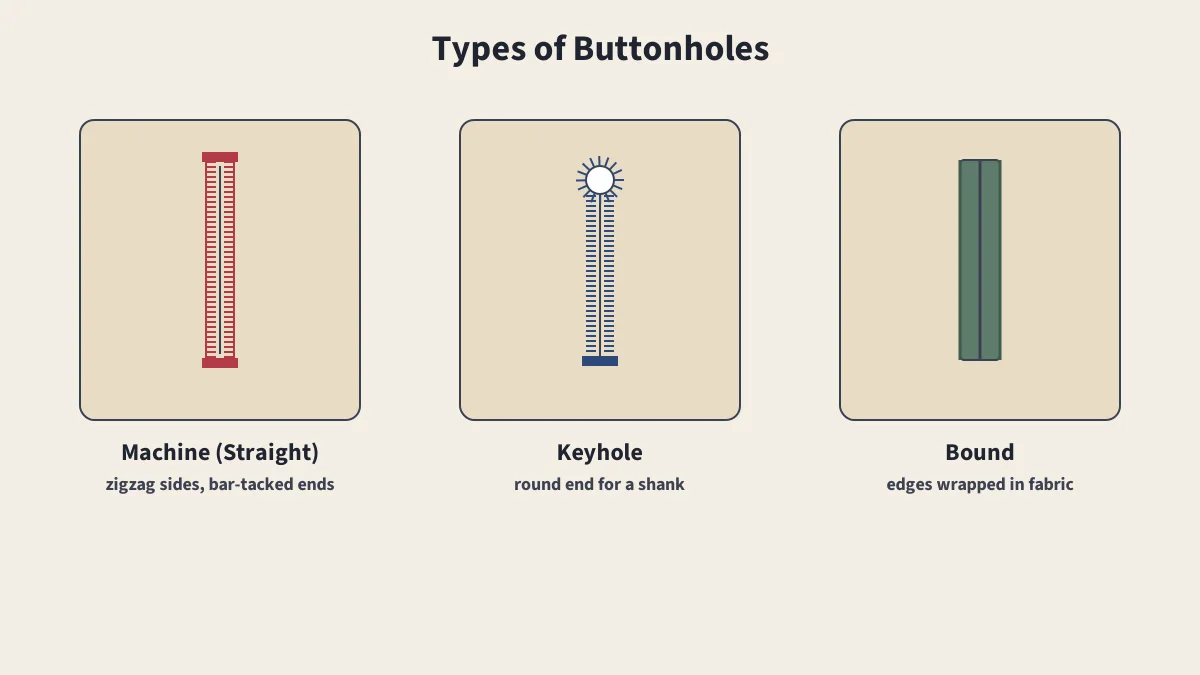
Machine, keyhole, bound and hand-worked buttonholes explained.
Snaps, Hooks and Closures
Snaps, hooks and eyes, hook and bar, frogs, magnets and grommets.
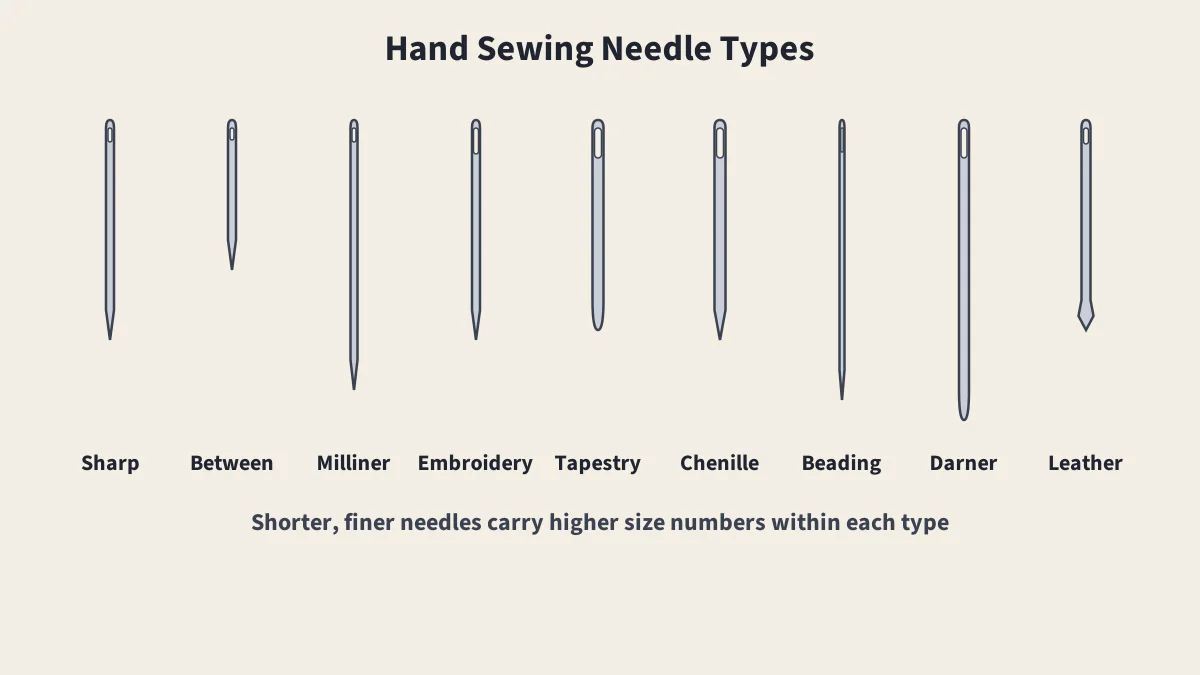
Hand Sewing Needle Types
Every common hand needle type, what it is for and how sizes work.