How to Apply Bias Binding: Necklines, Armholes and Quilt Edges (2026)
Binding wraps a raw edge in a narrow strip of fabric, finishing it neatly on both sides. Here is how to attach it to curved garment edges and to quilts, including mitered corners and invisible joins.
In This Article
Binding in Brief
- Purpose: wraps and finishes a raw edge
- Curves: need bias-cut binding
- Straight edges: can use straight-grain binding
- Corners: fold into a 45-degree miter
- Finishing: hand-stitched or stitched in the ditch
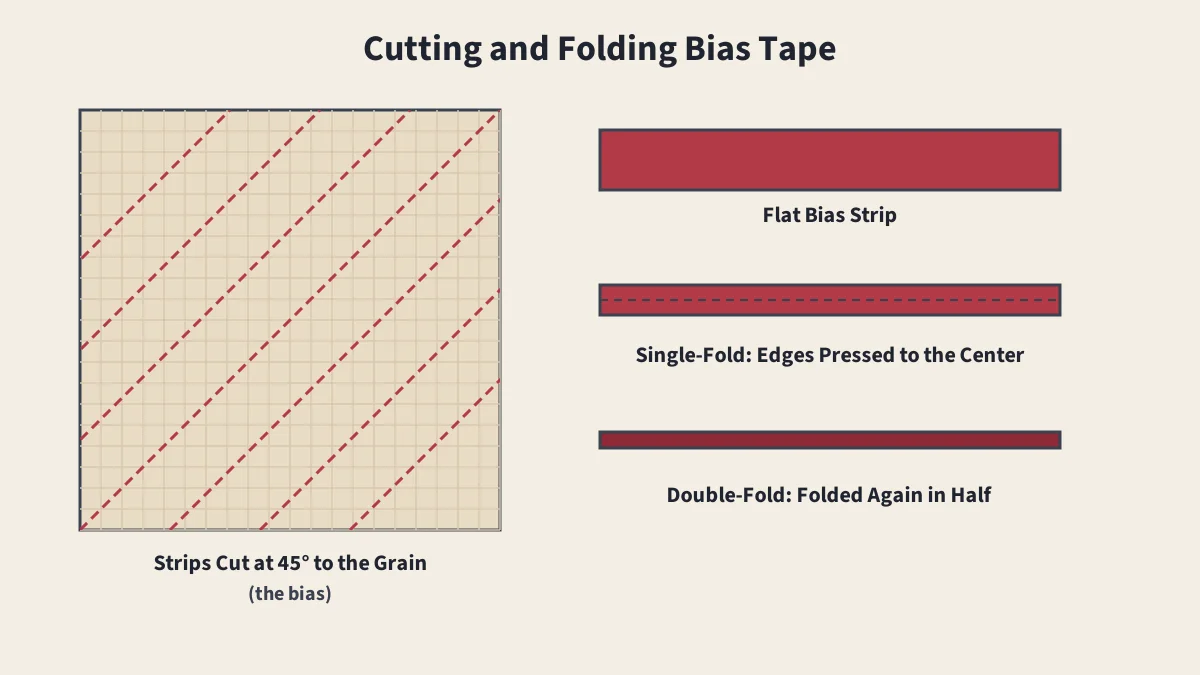
Binding encloses a raw edge with a folded strip of fabric, so the edge is finished on both sides at once. It is used on necklines, armholes, hems, quilts, bags and placemats. For the binding itself and how to cut and fold it, see bias tape and binding; this guide covers attaching it.
Binding a Garment Edge
- Trim the seam allowance off the edge to be bound, unless the pattern says otherwise, since binding replaces it.
- Pre-shape the binding by pressing it into a curve to match the edge.
- Open one fold of double-fold binding and pin it right sides together along the edge, raw edges matched.
- Stitch in the fold line, easing the binding gently on inward curves like necklines.
- Press the binding up, away from the garment.
- Wrap it over the raw edge to the wrong side, so it just covers the stitching line.
- Stitch it down by hand with a slip stitch, or from the right side by stitching in the ditch or edgestitching.
Binding a Quilt
- Prepare double-fold binding, either straight-grain or bias, long enough for the whole perimeter plus extra for corners and the join.
- Start partway along one side, leaving a tail, with raw edges matched to the quilt edge.
- Stitch through all layers, using a walking foot to keep them moving evenly.
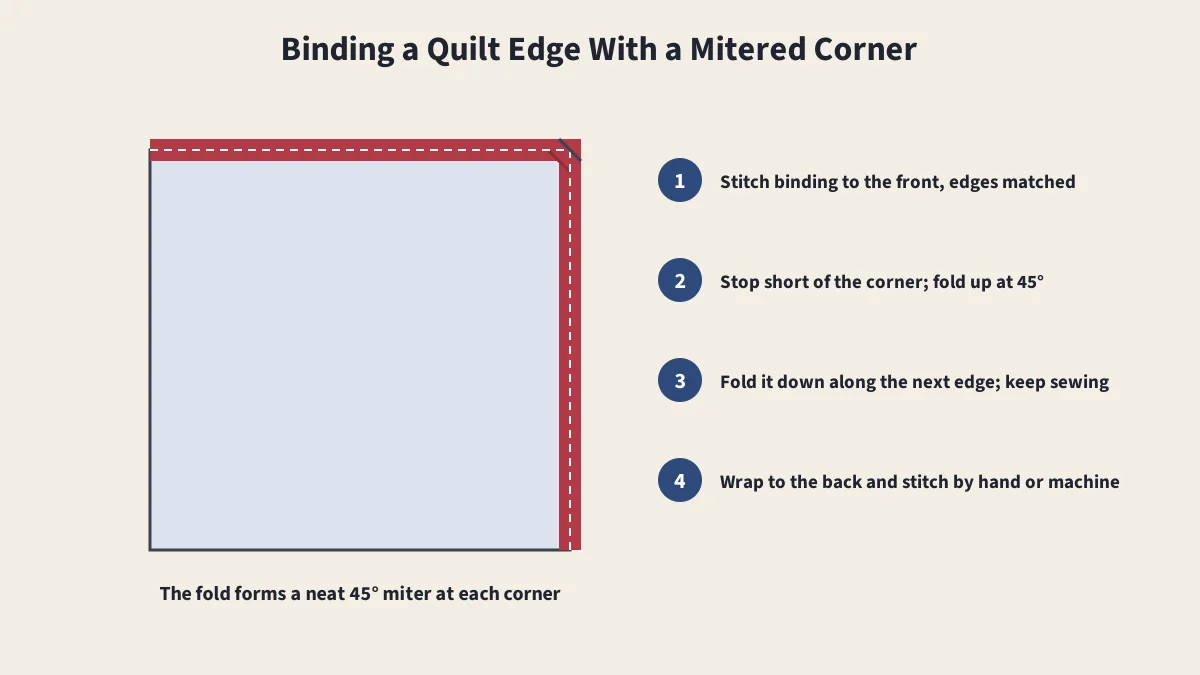
- Miter each corner: stop one seam allowance from the corner, fold the binding up at 45 degrees, then fold it straight down along the next edge and continue.
- Join the ends with a diagonal seam so the join is less bulky, then finish stitching.
- Wrap and finish: fold the binding to the back, mitering the corners, and hand-stitch or machine-stitch it down.
Single-Fold vs. Double-Fold
| Binding | Best For |
|---|---|
| Double-fold | Visible bound edges; quilts; most garment edges |
| Single-fold | Bias facings, hems and casings, where the binding turns fully inside |
Tips for Smooth Binding
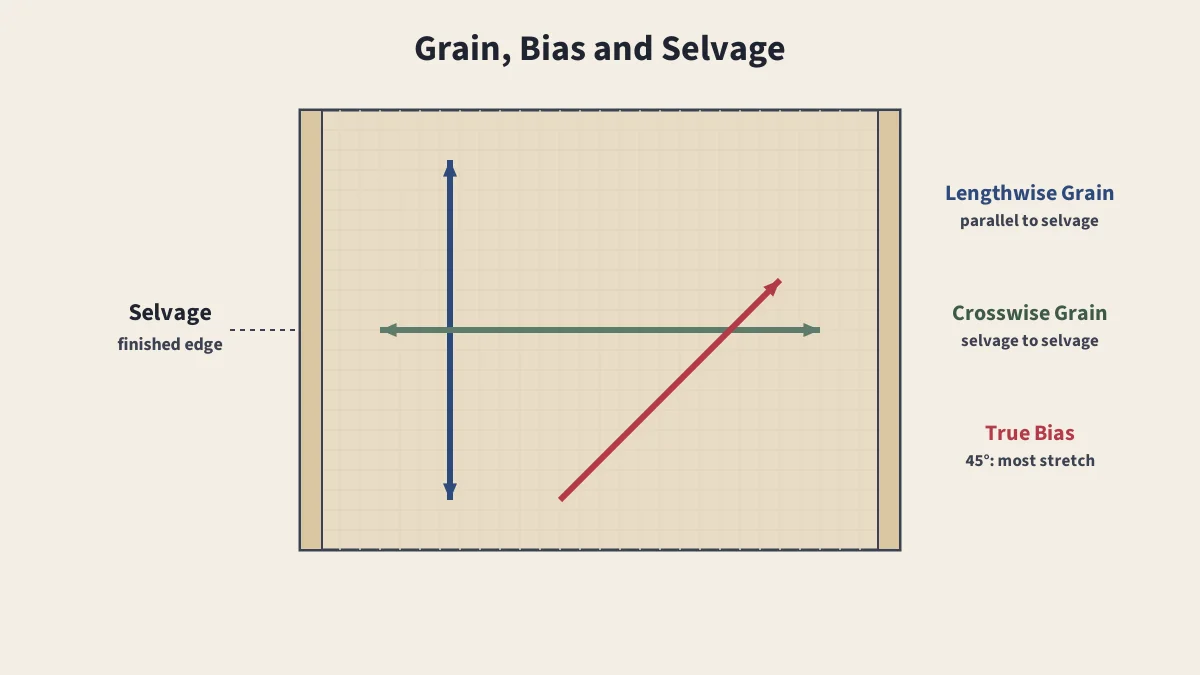
- Use bias on curves; see grain, bias and selvage.
- Stay-stitch curved edges first so they don't stretch; see staystitching.
- Press as you go, shaping curves with steam.
- Use a matching thread for invisible finishing, or a contrast for a decorative look.
- Clip curves only if the binding is turned fully inside as a facing.
For how binding fits into a finished quilt, see parts of a quilt.
Sources
Frequently Asked Questions
What is the easiest way to apply bias binding?
Open one fold of the binding and stitch it right sides together along the edge, in the fold line. Wrap the binding over the raw edge to the wrong side, and stitch it down by hand or by stitching in the ditch from the right side.
Should binding be cut on the bias?
For curved edges such as necklines and armholes, yes: only bias-cut strips lie smoothly around curves. Straight-grain binding works on straight edges, including most quilt edges.
How do you miter a binding corner?
Stop stitching a seam allowance's width from the corner, fold the binding up at 45 degrees, then fold it back down along the next edge and continue stitching. When the binding is wrapped, the fold forms a neat diagonal miter.
Why is my binding wavy or puckered?
On curves, the binding may have been stretched too much or too little. Ease it slightly on outward curves and stretch it slightly on inward curves such as necklines, and press it into shape before stitching.
Keep Reading
Bias Tape and Binding
Single-fold vs. double-fold bias tape, and how to use binding.
Grain, Bias and Selvage
Lengthwise grain, crosswise grain, true bias and selvage.
Seam Finishes
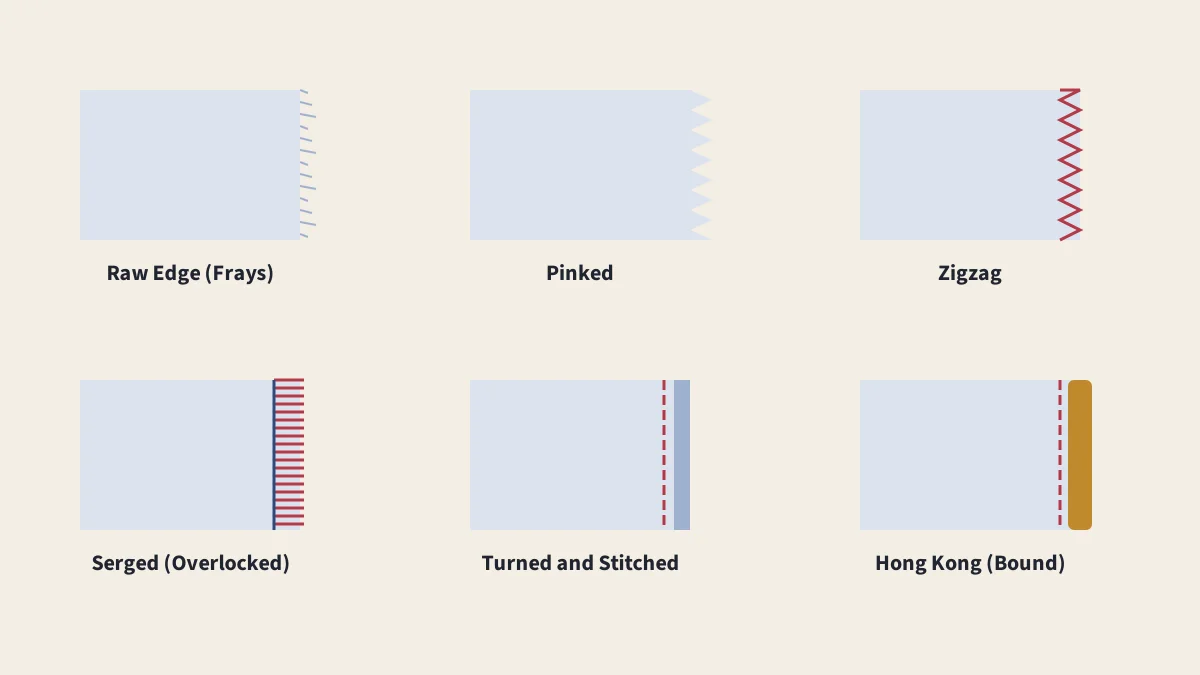
Pinked, zigzag, serged, Hong Kong, bound and enclosed finishes.
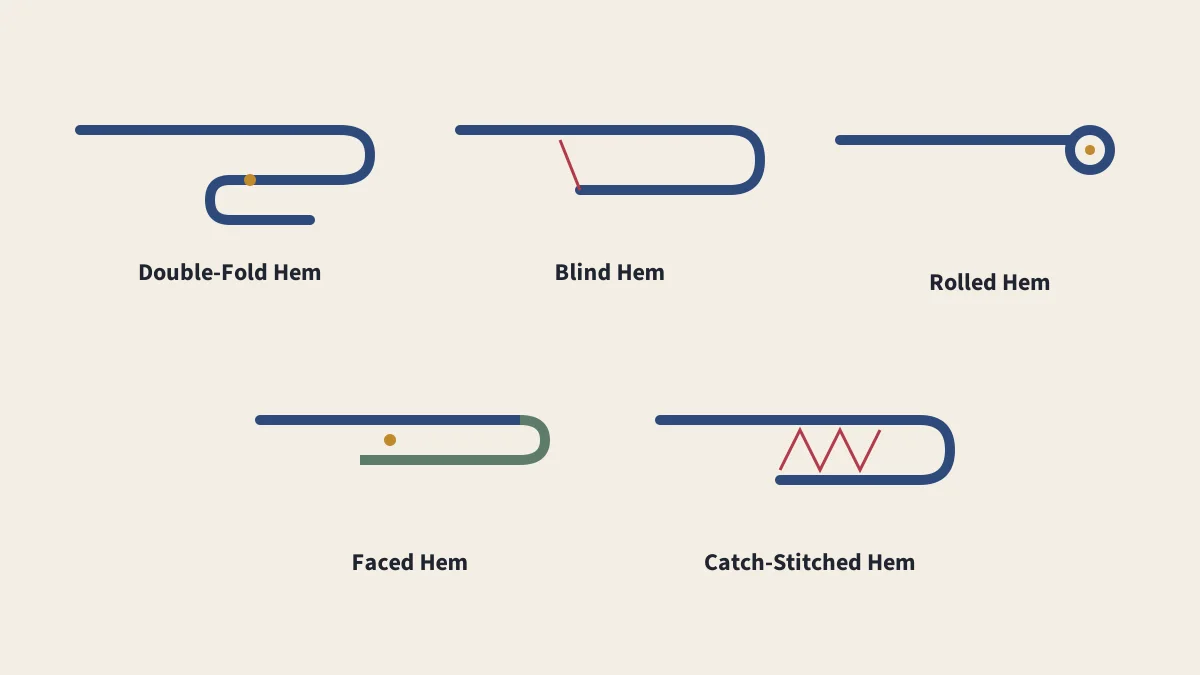
Types of Hems
Double-fold, blind, rolled, faced, bound and knit hems compared.