How to Sew Curves and Corners: Pivot, Clip, Notch and Turn (2026)
Collars, cuffs, necklines and pockets all depend on smooth curves and crisp corners. The secret is mostly in what happens after stitching: trimming, clipping and notching so the seam lies flat when turned.
In This Article
Curves and Corners in Brief
- Pivot at corners with the needle down
- Clip inward curves
- Notch outward curves
- Grade layers to reduce bulk
- Understitch facings so they stay inside
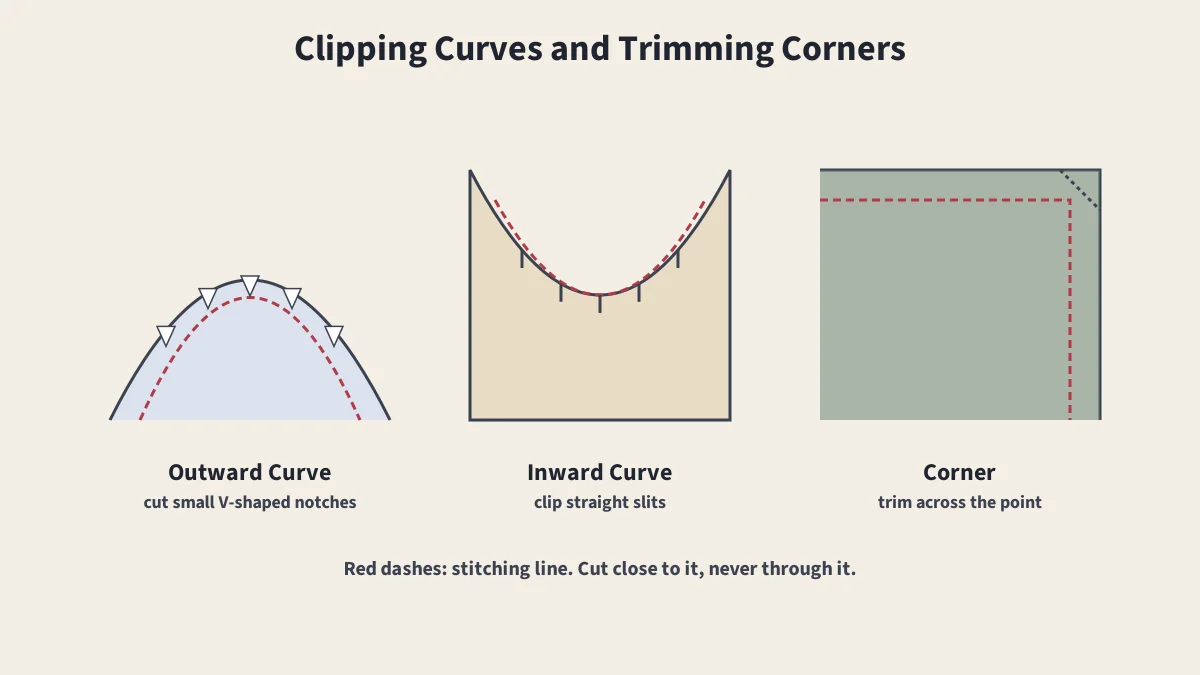
A curve or corner is sewn with the same straight stitch as any seam, but when the piece is turned right side out, the seam allowance has to fit into a different space. Inside an outward curve there is too much fabric; inside an inward curve there is too little. Clipping, notching and trimming solve both problems.
Sewing a Smooth Curve
- Staystitch curved edges such as necklines first so they don't stretch; see staystitching.
- Shorten the stitch slightly on tight curves for more control.
- Watch the edge, not the needle. Keep the fabric edge on the seam guide just in front of the presser foot.
- Turn gradually, stopping with the needle down to reposition on tight curves.
Clipping and Notching
| Curve | Example | What to Cut | Why |
|---|---|---|---|
| Inward (concave) | Neckline, armhole | Straight clips toward the stitching | Lets the allowance spread out when turned |
| Outward (convex) | Round collar, curved pocket | Small V-shaped notches | Removes fabric that would bunch |
Cut close to the stitching but never through it. Space cuts closer together on tighter curves. As an alternative, trimming the allowance narrow with pinking shears clips and notches it in one step; see types of scissors.
Sewing a Sharp Corner
- Stitch toward the corner and stop one seam allowance's width from the next edge, with the needle down.
- Lift the presser foot, pivot the fabric, lower the foot and continue.
- For very sharp points, take one or two stitches diagonally across the corner instead of a single pivot; this leaves room for the allowance when turned.
- Trim the allowance diagonally across the point, then taper it on both sides.
- Turn the piece and gently push out the point with a blunt point turner.
Grading and Understitching
Grading trims each layer of a seam allowance to a different width so they don't form a ridge that shows through on the outside. The layer nearest the outside of the garment is normally left widest. Understitching then stitches the seam allowance to the facing close to the seam, which helps the facing roll to the inside; see facings vs. linings.
Press Before and After Turning
Press the seam flat as sewn, then press the allowances open or toward the facing over a tailor's ham before turning. After turning, press again from the facing side, rolling the seam slightly to the inside. See pressing as you sew.
Sources
- Seam (sewing), Wikipedia
- Facing (sewing), Wikipedia
Frequently Asked Questions
What is the difference between clipping and notching?
Clipping means cutting straight slits into the seam allowance of an inward (concave) curve so it can spread when turned. Notching means cutting small V-shaped wedges from an outward (convex) curve so the extra fabric doesn't bunch.
How do you sew a sharp corner?
Stitch to one seam allowance's width from the edge, stop with the needle down, lift the presser foot, pivot the fabric, lower the foot and continue. Then trim the point before turning.
What is grading a seam?
Trimming the layers of a seam allowance to different widths, so they don't form a single ridge. The layer closest to the outside of the garment is usually left widest.
How do I sew a smooth curve?
Shorten the stitch length slightly, sew slowly, and turn the fabric gradually while keeping the edge aligned with the seam guide just in front of the needle. Stop with the needle down to adjust on tight curves.
Keep Reading
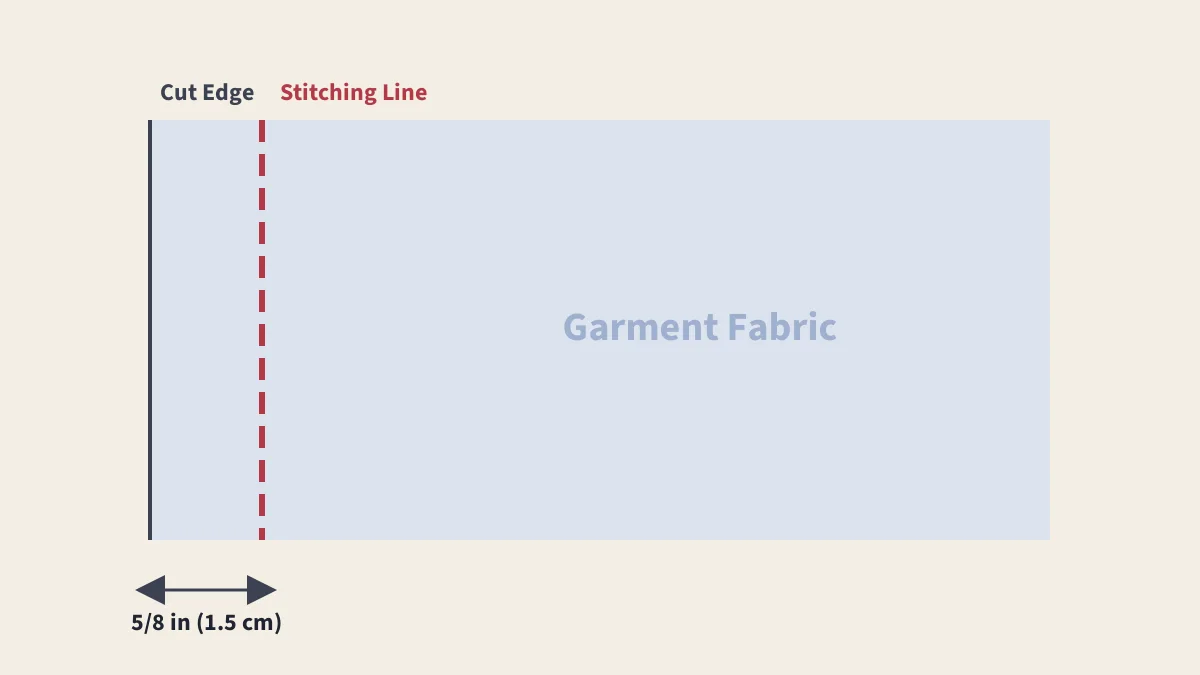
Seam Allowance Explained
Standard seam allowances, why they differ, and how to sew them accurately.
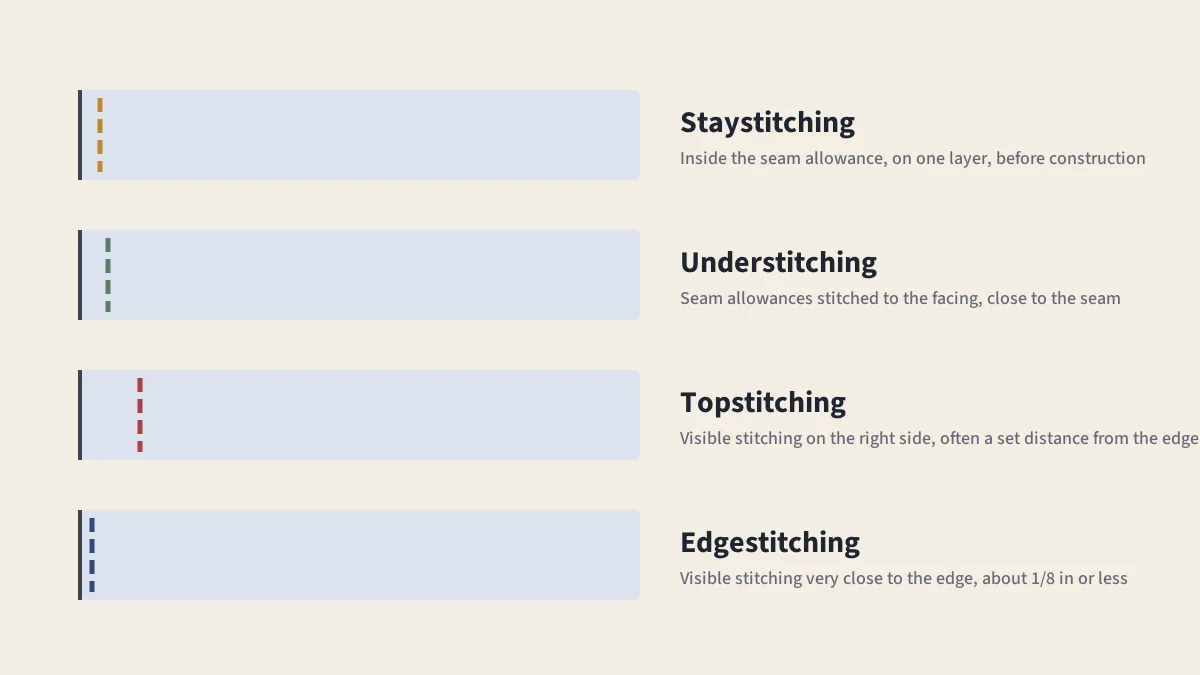
Staystitching, Understitching and Topstitching
Four stitching techniques that sound alike but do different jobs.
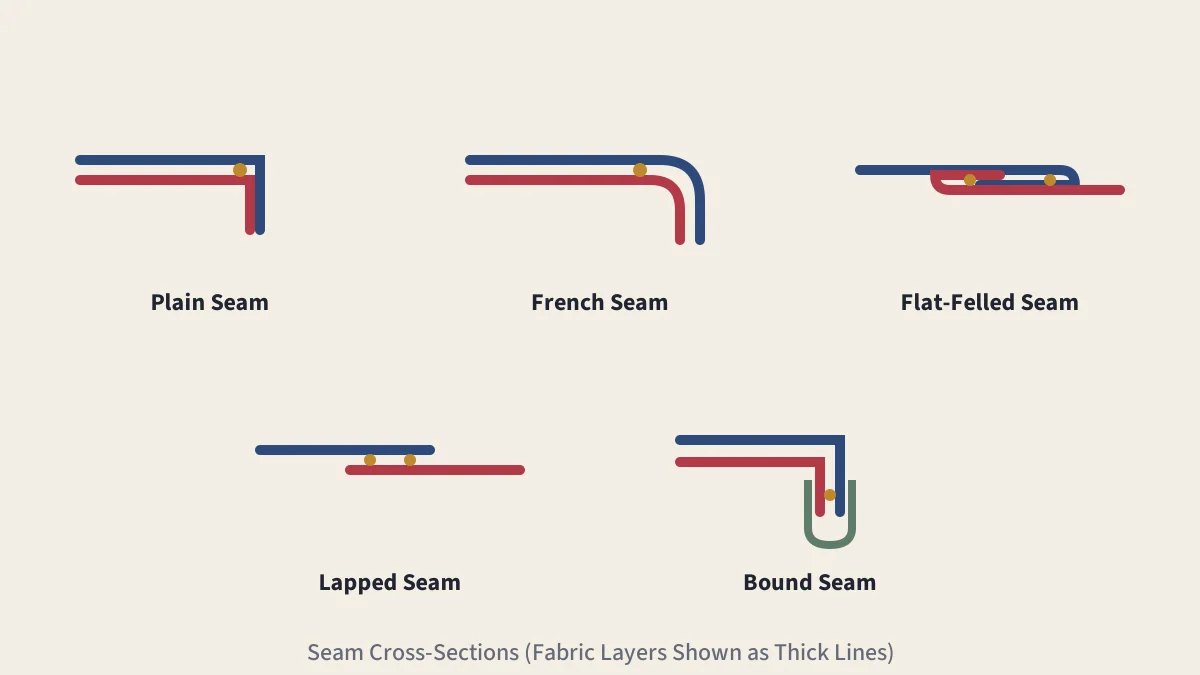
Types of Seams
Plain, French, flat-felled, lapped, bound and other seams compared.
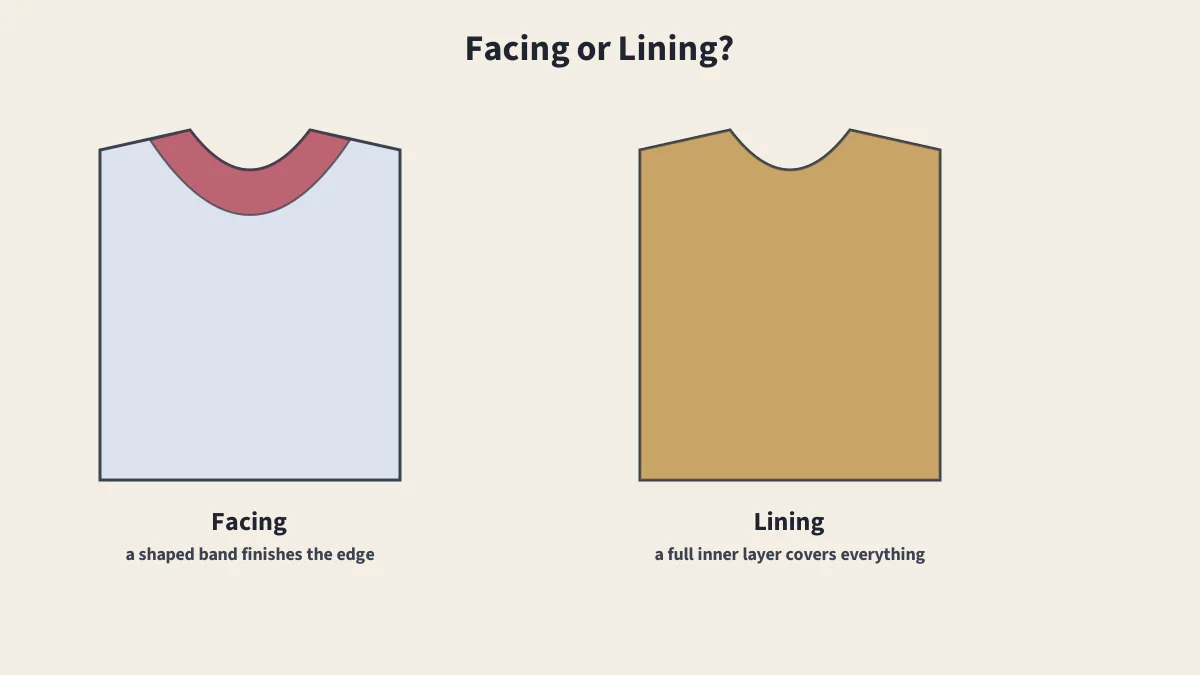
Facings vs. Linings
Shaped, extended, bias and all-in-one facings compared.