How to Insert a Zipper: Centered, Lapped, Invisible and Exposed (2026)
Zippers have a reputation for being tricky, but each method follows a simple logic. Here is how the four main zipper applications work, step by step, and when to choose each.
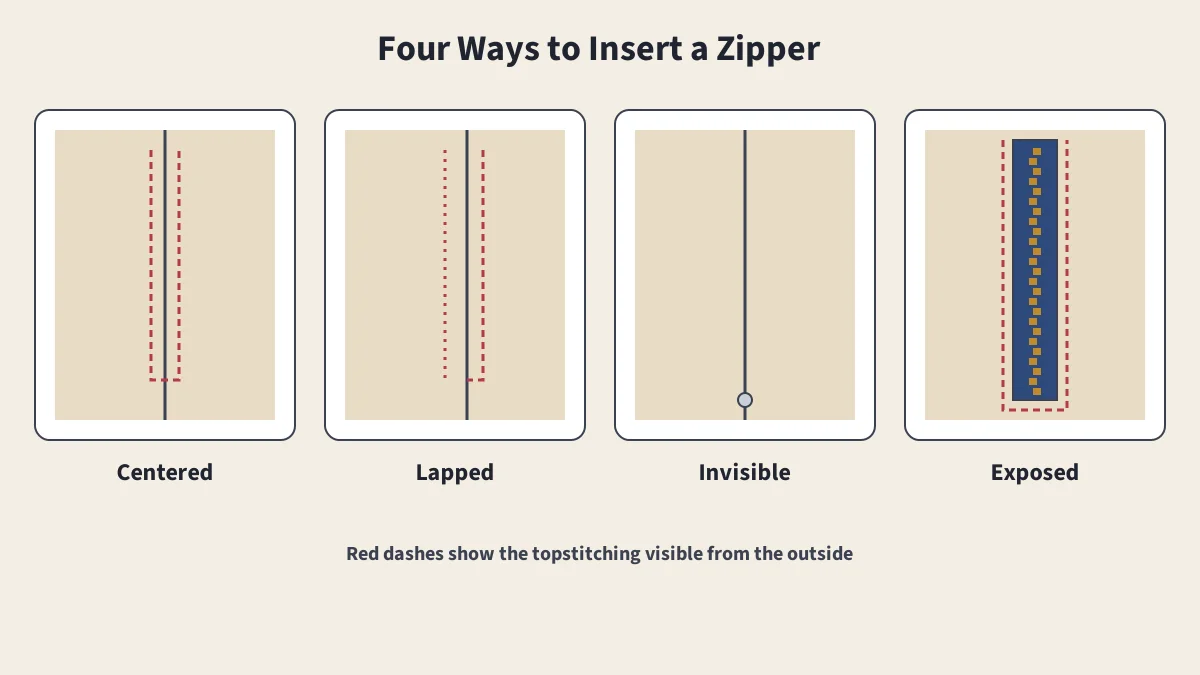
In This Article
Zipper Methods in Brief
- Centered: stitching on both sides; simplest
- Lapped: a flap hides the zipper; common in skirts
- Invisible: no visible stitching; dresses and skirts
- Exposed: teeth show as a design feature
- Tools: zipper foot, basting, interfacing
Choosing a zipper is the first step; see types of zippers. The second is choosing how to sew it in. The method changes how much of the zipper shows and how the opening looks from outside. In every method, careful preparation, accurate seam allowances and basting do most of the work.
Before You Start
- Use a zipper foot, which lets you stitch close to the teeth; see the presser feet guide.
- Stabilize the opening with a strip of fusible interfacing on the seam allowances, especially on lightweight, stretchy or bias-cut fabrics; see interfacing.
- Finish the seam allowances before inserting the zipper; see seam finishes.
- Mark the zipper stop where the opening ends.
Centered Zipper
- Sew the seam below the opening with a normal stitch, then baste the opening closed with a long stitch.
- Press the seam allowances open.
- Place the zipper face down on the seam allowances, teeth centered on the seam; pin or baste in place.
- From the right side, stitch down one side, across the bottom below the stop, and up the other side, the same distance from the seam.
- Remove the basting to open the zipper.
Lapped Zipper
- Baste the opening closed as for a centered zipper, and press.
- Extend one seam allowance and stitch the zipper tape to it close to the teeth.
- Turn the zipper face up, forming a small fold next to the teeth, and stitch along the fold.
- From the right side, stitch through all layers on the other side, wider from the seam, so the lap covers the teeth; pivot across the bottom.
- Remove the basting.
Invisible Zipper
- Insert the zipper before sewing the seam below it.
- Unzip it and press the coils flat with a cool iron so the stitching can get close.
- Place one side face down on the right side of one seam allowance and stitch with an invisible zipper foot, right next to the coil, down to the slider.
- Repeat on the other side, checking that the zipper is not twisted.
- Close the zipper, then sew the rest of the seam with a regular zipper foot, starting just above and beside the end of the zipper stitching.
Exposed Zipper
- Mark and cut or open a box-shaped window the width of the zipper teeth.
- Fold the edges of the window to the wrong side, clipping into the corners, and press.
- Place the zipper behind the window, teeth showing, and topstitch around the edge.
Exposed zippers work well with metal or decorative zippers on casual garments and bags.
Troubleshooting
| Problem | Likely Cause | Fix |
|---|---|---|
| Wavy zipper | Fabric stretched while sewing | Stabilize with interfacing; baste first |
| Teeth show on an invisible zipper | Stitching too far from the coil | Press the coil flat and stitch closer |
| Bump at the bottom | Seam and zipper stitching don't meet | Start the seam just above and beside the zipper stitching |
| Uneven top edges | Zipper shifted | Mark matching points on both sides |
Sources
- Zipper, Wikipedia
Frequently Asked Questions
What is the easiest zipper to sew in?
A centered zipper is usually the easiest. The seam is basted closed, pressed open, and the zipper is stitched face down over it, with a line of stitching on each side.
What presser foot do I need for a zipper?
A zipper foot, which lets the needle stitch close to the teeth. Invisible zippers are easiest with an invisible zipper foot, which rolls the coil out of the way.
What is the difference between a centered and a lapped zipper?
A centered zipper has two rows of stitching, one on each side of the seam. A lapped zipper is covered by a single flap of fabric, so only one row of stitching shows, often used in skirts and trousers.
Why does my zipper look wavy?
Usually because the fabric stretched as it was sewn, especially on curved or bias edges. Stabilizing the seam allowances with interfacing tape and basting before stitching helps.
Keep Reading
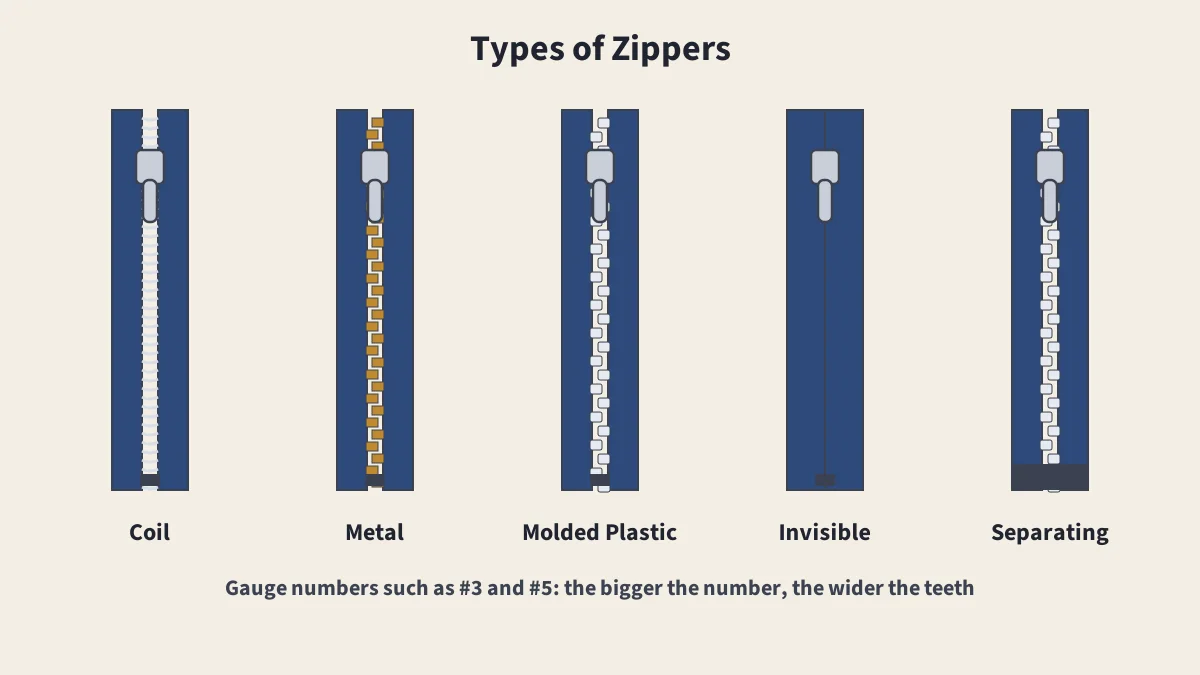
Types of Zippers
Coil, metal, plastic, invisible and separating zippers compared.
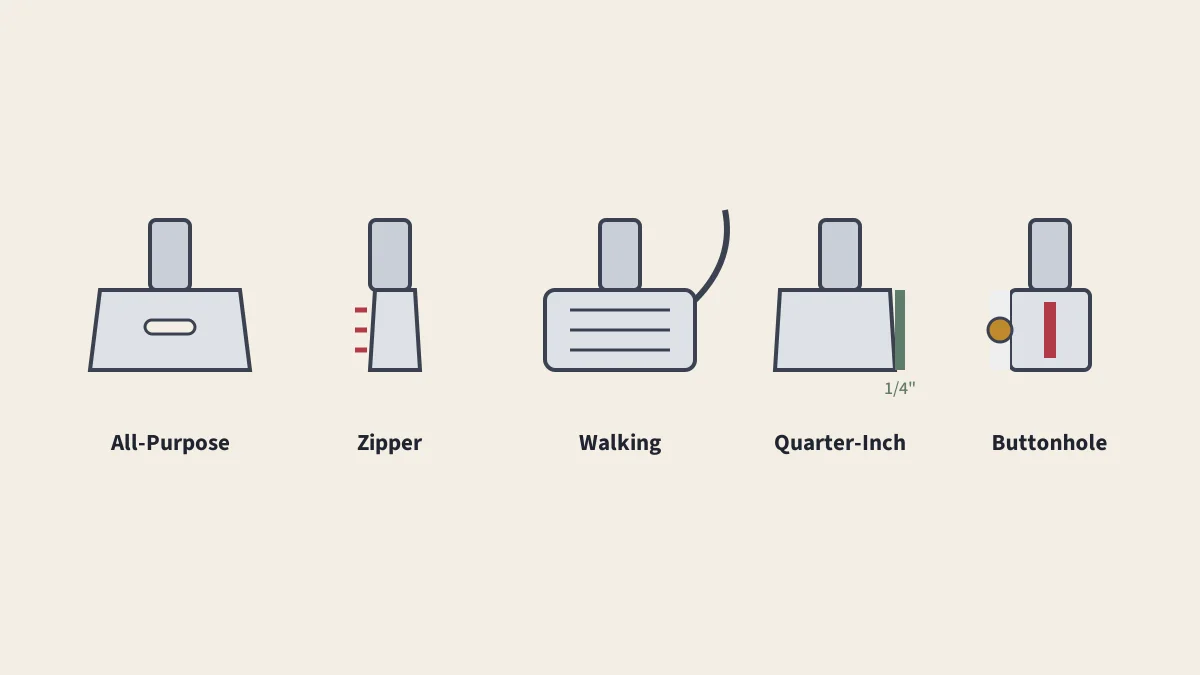
Presser Feet Guide
What each presser foot does and how to check it fits your machine.
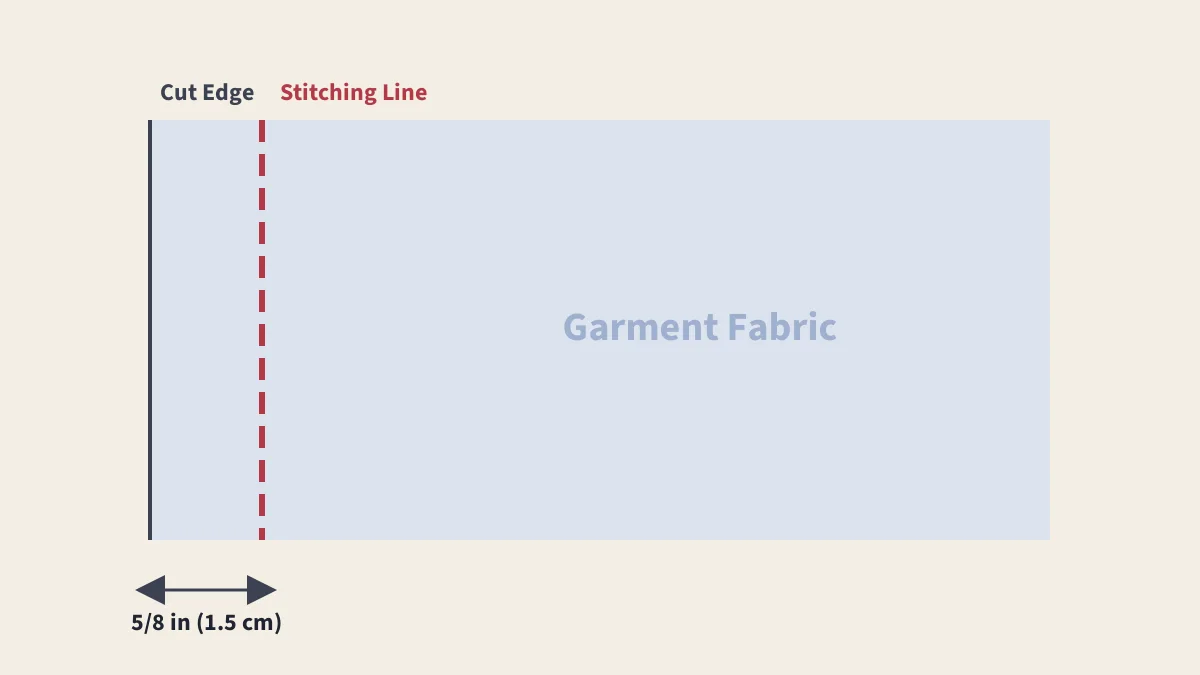
Seam Allowance Explained
Standard seam allowances, why they differ, and how to sew them accurately.
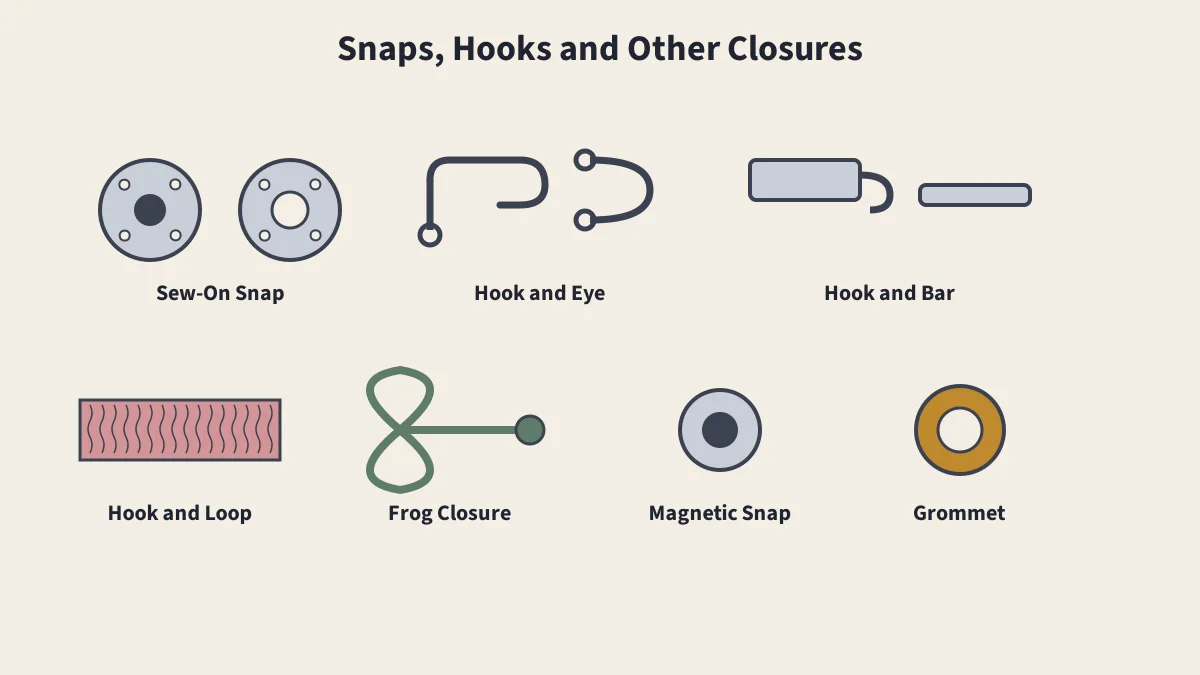
Snaps, Hooks and Closures
Snaps, hooks and eyes, hook and bar, frogs, magnets and grommets.