How to Lay Out a Pattern and Cut Fabric Accurately (2026)
Accurate cutting is where good sewing starts. A piece cut off grain will twist and hang badly however well it is sewn. Here is how to prepare fabric, follow a layout and cut cleanly.
In This Article
Cutting in Brief
- Prepare: pre-wash and press the fabric
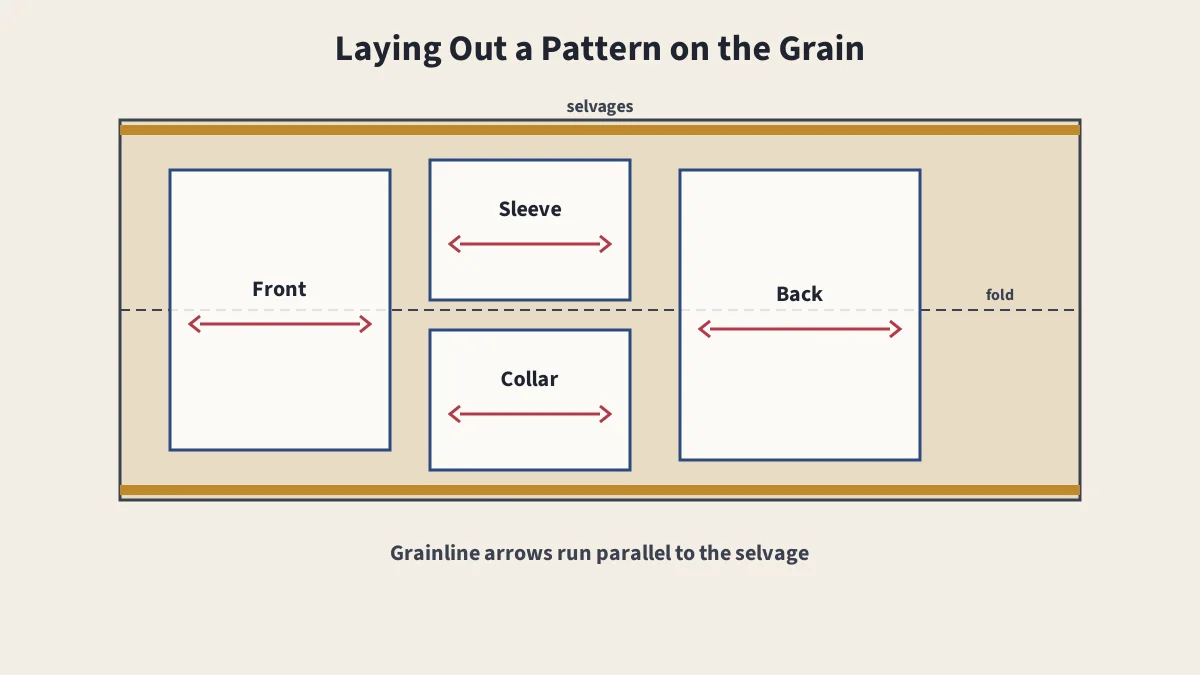
- Align: grainlines parallel to the selvage
- Fold: usually right sides together, selvages matched
- Nap: all pieces one direction
- Mark: notches and dots before unpinning
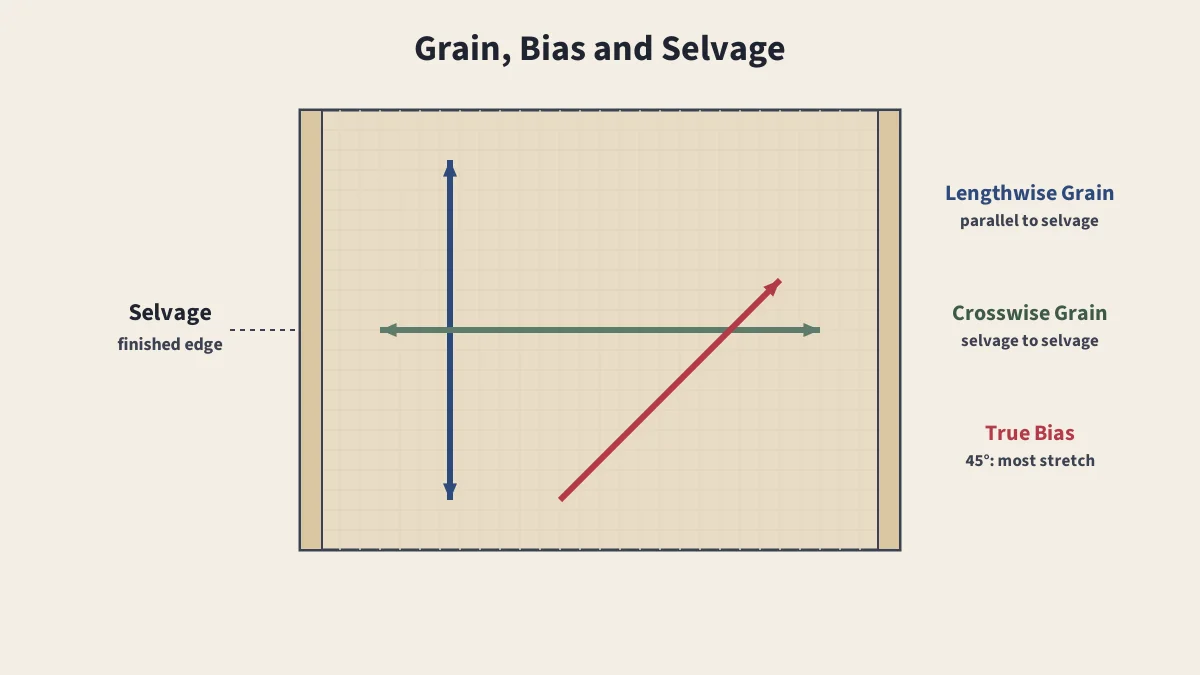
Woven fabric is strongest and most stable along the lengthwise grain, parallel to the selvage. Patterns are drafted with this in mind, and each piece carries a grainline arrow showing how it should sit. For the background, see grain, bias and selvage.
Prepare the Fabric
- Pre-wash as you will wash the finished item; see fabric shrinkage.
- Press out wrinkles and the center crease if it won't be on a fold.
- Straighten the grain: if the cut ends are uneven, pull a crosswise thread or tear across where the fabric allows, and fold the fabric so the selvages meet with no ripples.
Read the Layout
- Patterns include cutting layouts for each view, fabric width and size.
- Most layouts fold the fabric lengthwise with right sides together, selvages matched.
- Pieces marked "place on fold" are cut with one edge on the fold to make a single symmetrical piece.
- Pieces marked "cut 2" from a double layer give a left and right automatically.
Pattern symbols are explained in the sewing abbreviations guide.
Check the Grainline
Measure from one end of the grainline arrow to the selvage, then from the other end. Adjust until both measurements match, then pin or weight that piece. This takes a few seconds per piece and prevents twisted seams and uneven hems.
Napped and Directional Fabrics
Some fabrics look different depending on which way they are viewed: pile fabrics such as velvet and corduroy, shiny satins, and one-way prints. For these, use a with-nap layout, in which the tops of all pieces point the same way. It usually needs more fabric. See pile fabrics.
Cutting
| Tool | Best For |
|---|---|
| Bent-handled shears | General cutting; the blade stays flat on the table |
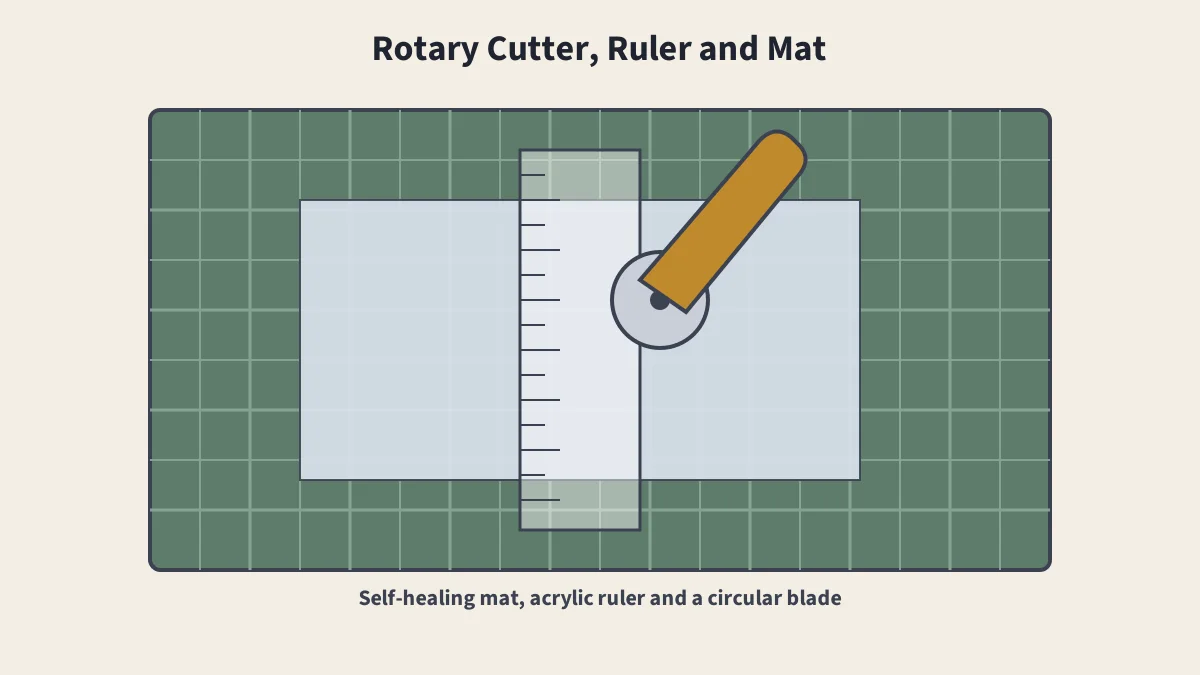
| Rotary cutter and mat | Straight lines, knits, slippery fabrics, quilting |
| Small scissors | Notches and tight curves |
- Keep the fabric flat on the table and walk around it rather than lifting it.
- Use long, smooth strokes with shears, closing them fully only at the end.
- Cut notches outward as small triangles, or make short snips into the allowance.
See types of scissors and rotary cutters and cutting mats.
Mark Before You Unpin
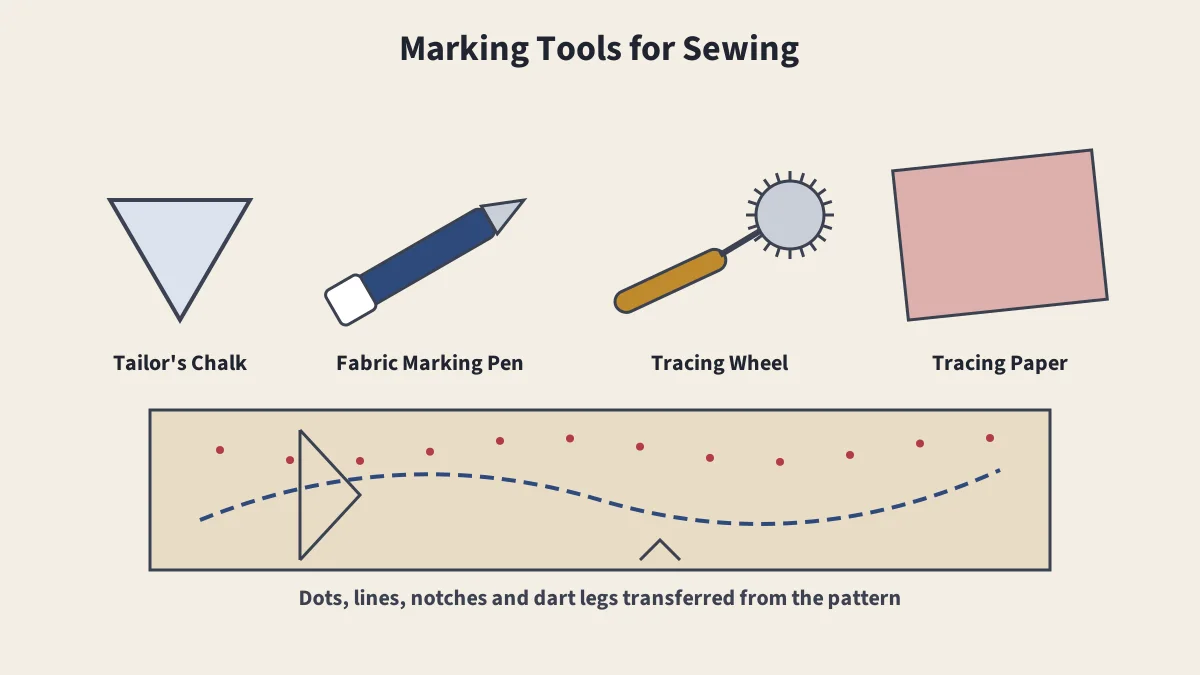
Transfer darts, dots, pocket placements and buttonholes while the pattern is still attached; see marking tools. Label pieces that look similar, such as fronts and backs, with a pin or a small tape note on the wrong side.
For the symbols printed on pattern pieces, see how to read a sewing pattern.
Sources
- Pattern (sewing), Wikipedia
- Nap (fabric), Wikipedia
Frequently Asked Questions
What does the grainline arrow on a pattern mean?
It shows how to place the piece on the fabric. The arrow must run parallel to the selvage, which you can check by measuring from each end of the arrow to the selvage.
What is a with-nap layout?
A layout where all pattern pieces point the same way, used for fabrics that look different from each direction, such as velvet, corduroy, satin and one-way prints.
Should I pin or use pattern weights?
Both work. Pins hold pieces securely for scissors; weights are quicker and don't distort slippery or knit fabrics, and pair well with a rotary cutter.
Do I cut on the line or inside it?
For multi-size patterns, cut on the line for your size. Many sewists cut through the middle of the printed line so pieces stay accurate.
Keep Reading
Grain, Bias and Selvage
Lengthwise grain, crosswise grain, true bias and selvage.
Rotary Cutters and Mats
The 1979 invention, blade sizes, mats, rulers and safe cutting.
Marking Tools
Chalk, pens, tracing wheels, tailor's tacks and notches compared.
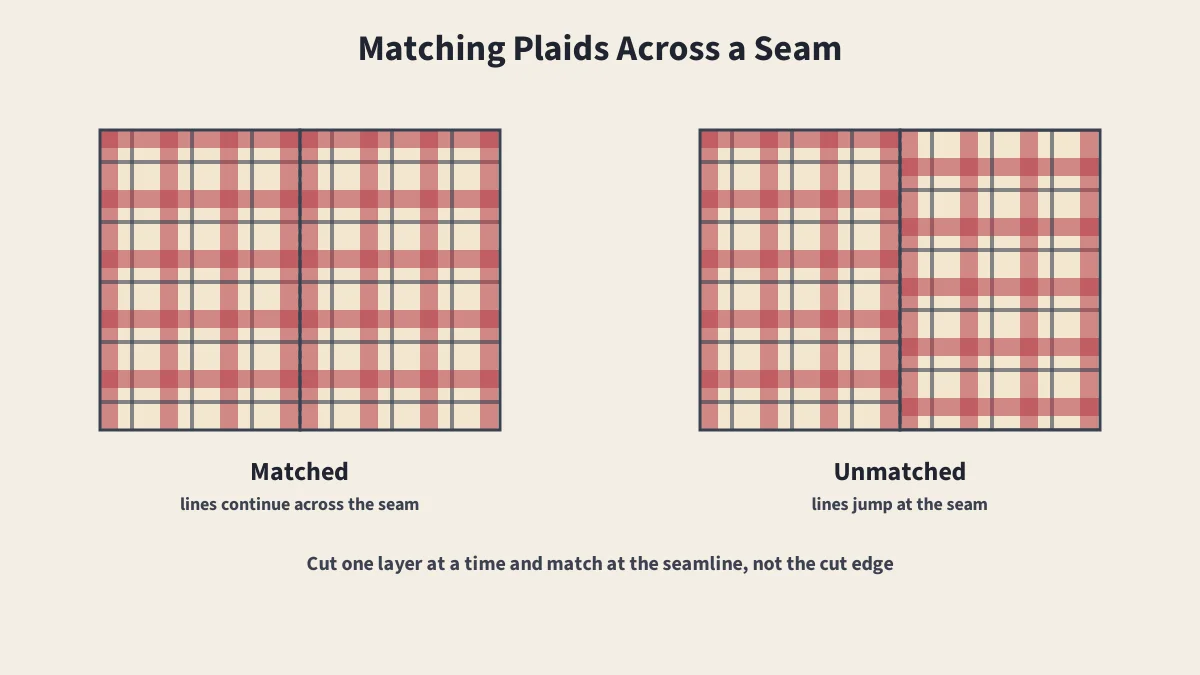
Matching Plaids and Stripes
Even and uneven plaids, cutting and pinning to match.