Pressing Tools: The Secret to Professional-Looking Sewing (2026)
Experienced sewists often say pressing matters as much as stitching. A handful of odd-looking tools, from a ham-shaped cushion to a block of hardwood, help shape seams, curves and collars as a garment is built.
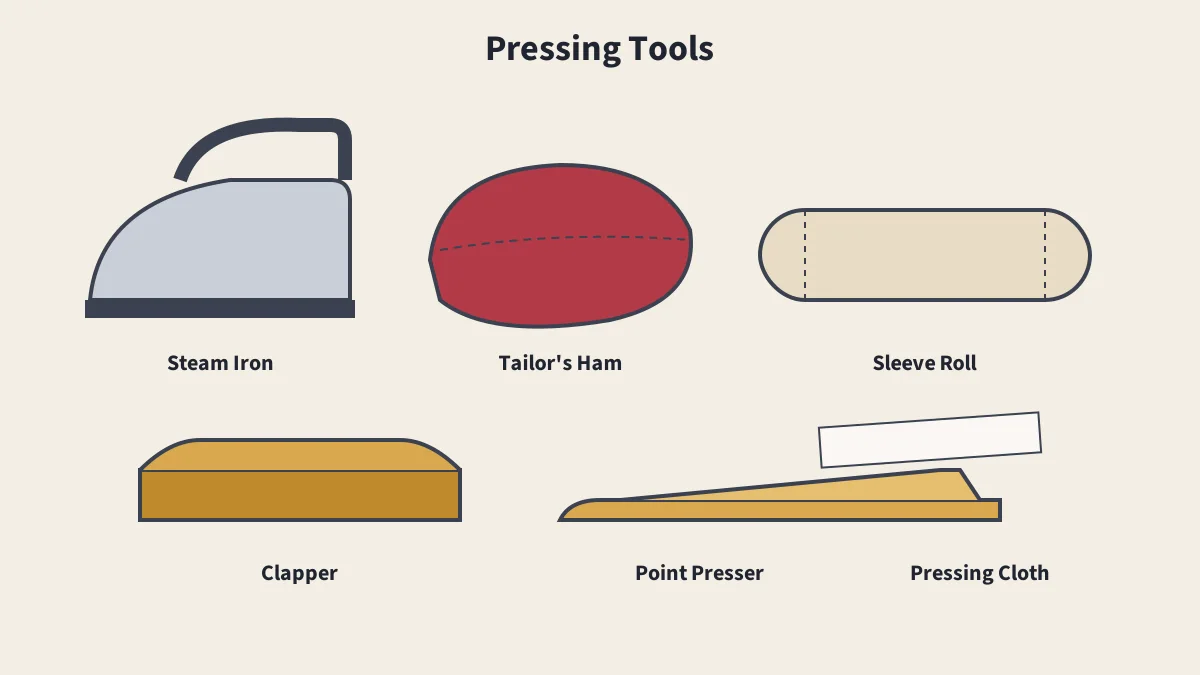
In This Article
Pressing Tools in Brief
- Iron: heat, steam and pressure
- Tailor's ham: curved mold for darts and curves
- Sleeve roll: long cushion for sleeves and seams
- Clapper: hardwood block for crisp, flat seams
- Pressing cloth: protects fabric from shine and scorch
Every seam is pressed before it is crossed by another seam. That rule, followed as a garment is built, is one of the main differences between homemade-looking and professional-looking sewing. Pressing flattens stitches into the fabric, opens seam allowances, sets folds and shapes curves to fit the body.
Pressing vs. Ironing
Ironing slides the iron across fabric to remove wrinkles. Pressing lifts the iron and lowers it onto one area at a time, letting heat, steam and pressure do the work. Sliding can stretch cut edges and curves out of shape, so sewists press. Heat and pressure loosen the bonds in fibers, which then hold their new shape as they cool; cotton needs moisture for this to work.
The Iron
Irons have a long history. Pans of hot coals were used to smooth fabric in China in the 1st century BC, and heavy cast-iron "sad irons," heated on a stove, were used from the 17th century. Henry W. Seely patented an electric iron in 1882, thermostatically controlled irons appeared in the 1920s, and steam irons became popular from the late 1930s. Most domestic irons work between about 121 °C and 182 °C (250 °F and 360 °F), with dials labeled by fabric type.
Shaping Tools
| Tool | What It Is | Used For |
|---|---|---|
| Tailor's ham | Tightly stuffed, ham-shaped cushion, often filled with sawdust or fabric scraps | Darts, sleeve caps, collars, princess seams and waistlines |
| Sleeve roll | Long, firm cylindrical cushion | Pressing sleeve and trouser seams without creasing the other side |
| Sleeve board | A small ironing board for narrow tubes | Sleeves, cuffs and small pieces |
| Clapper | Smooth hardwood block | Setting flat, crisp seams and edges, especially in wool |
| Point presser | Narrow wooden board with a pointed tip | Pressing seams open inside collar points and corners |
| Pressing cloth | Cotton, silk organza or similar fabric | Preventing shine, scorching and glue on the iron |
| Needle board or towel | A textured or padded surface | Pressing velvet and other pile fabrics without crushing them |
The Tailor's Ham
A tailor's ham is a tightly stuffed pillow used as a curved mold when pressing curved areas of clothing. It is roughly ham-shaped, so it has curves of different sizes for different parts of a garment. Pressing darts, sleeves, cuffs, collars and waistlines over it helps the garment fit the body's contours rather than lying flat. Many hams have one side covered in cotton and the other in wool, for different fabrics and heat settings.
The Clapper
After a seam is steamed, the clapper is pressed onto it and held for a few moments. The wood holds the heat and moisture in briefly, then absorbs them, so the seam cools flat and sharp. It is a traditional tailoring tool for wool, which responds especially well to steam and pressure.
Pressing Tips
- Press each seam before sewing across it.
- Press flat first, as sewn, to set the stitches, then press open or to one side; see types of seams.
- Use the right heat for the fiber, and test on a scrap.
- Use a pressing cloth on wool, dark fabrics and synthetics.
- Let pieces cool before moving them, so the shape sets.
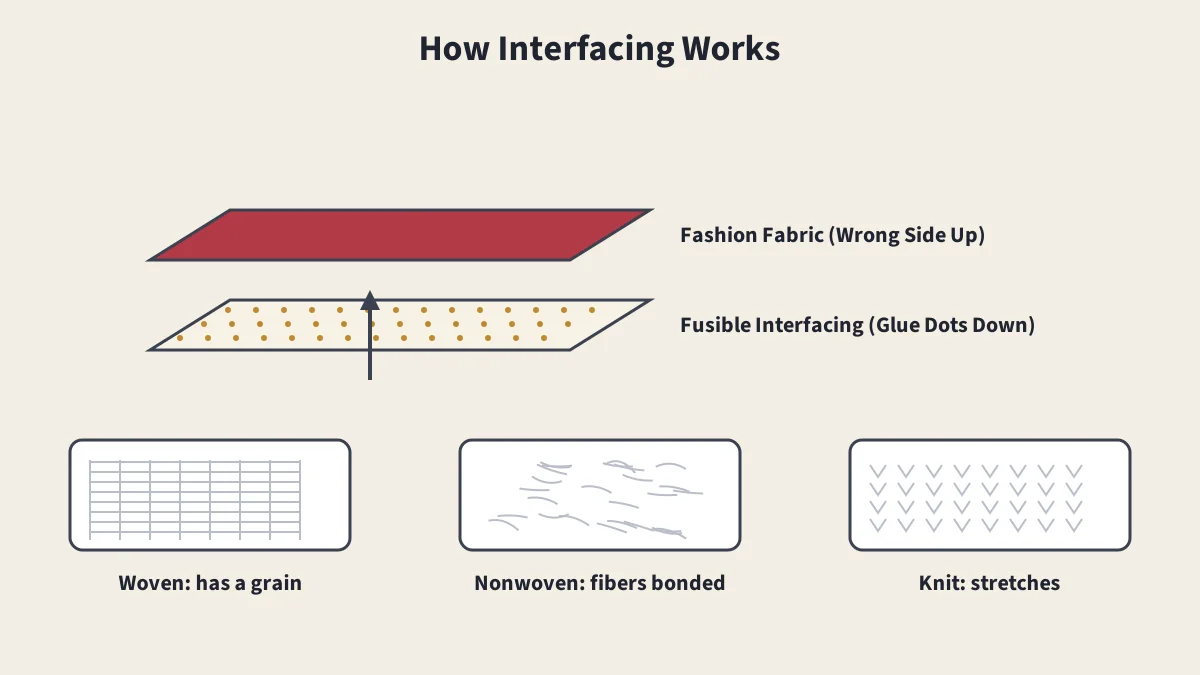
- Protect your iron from fusible glue when applying interfacing.
For the right heat for each fiber, see ironing temperatures by fabric.
For how to use them between steps, see pressing as you sew.
Sources
- Tailor's ham, Wikipedia
- Clothes iron, Wikipedia
Frequently Asked Questions
What is the difference between pressing and ironing?
Ironing slides the iron back and forth to remove wrinkles. Pressing lifts the iron and sets it down on one area at a time, using heat, steam and pressure to shape seams without stretching the fabric. Sewists press as they sew.
What is a tailor's ham used for?
A tailor's ham is a tightly stuffed, ham-shaped cushion that acts as a curved mold when pressing curved areas such as darts, sleeve caps, collars and waistlines, helping the garment follow the body's contours.
What does a clapper do?
A clapper is a smooth block of hardwood pressed onto fabric right after steaming. It holds the heat and moisture in briefly and then absorbs them, setting a flat, crisp seam or edge, especially in wool.
Why use a pressing cloth?
A pressing cloth sits between the iron and the fabric to prevent shine, scorching and marks, especially on wool, dark fabrics and synthetics, and to protect fusible interfacing glue from reaching the iron.
Keep Reading
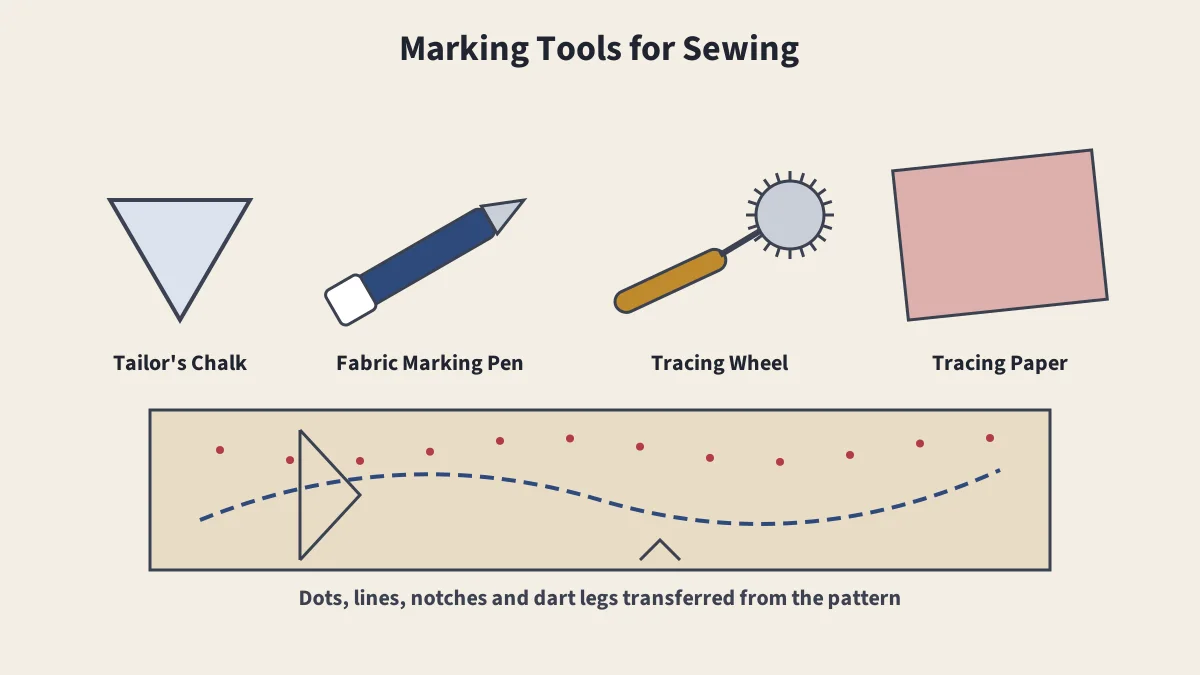
Marking Tools
Chalk, pens, tracing wheels, tailor's tacks and notches compared.
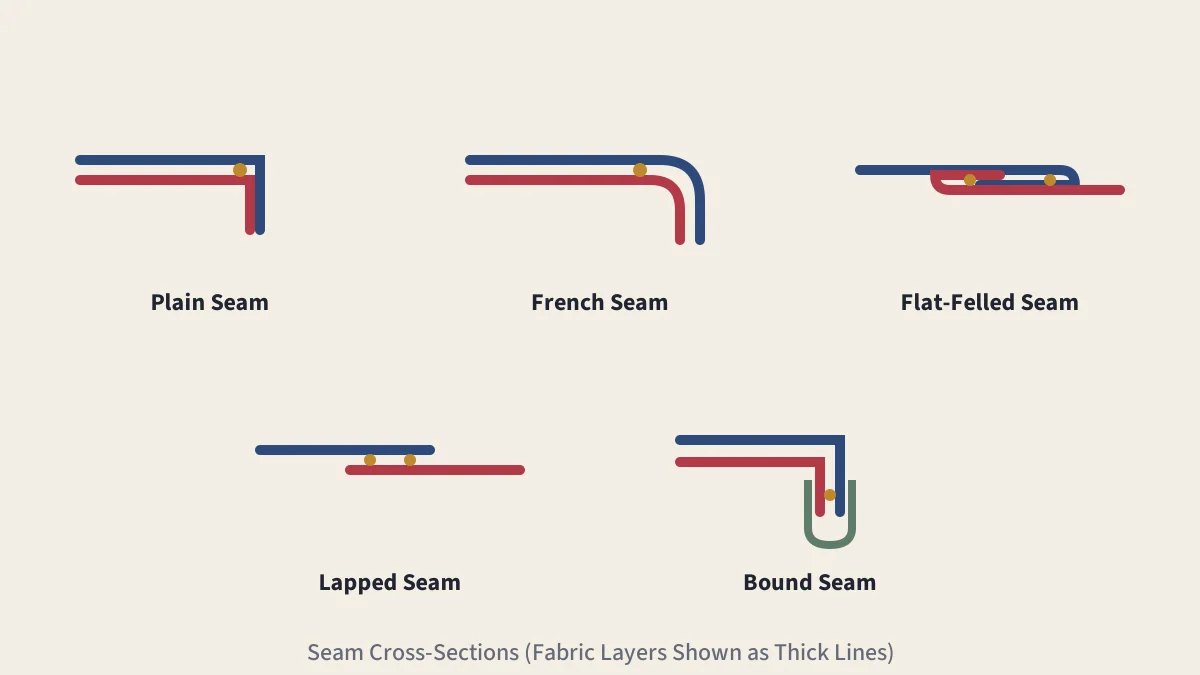
Types of Seams
Plain, French, flat-felled, lapped, bound and other seams compared.
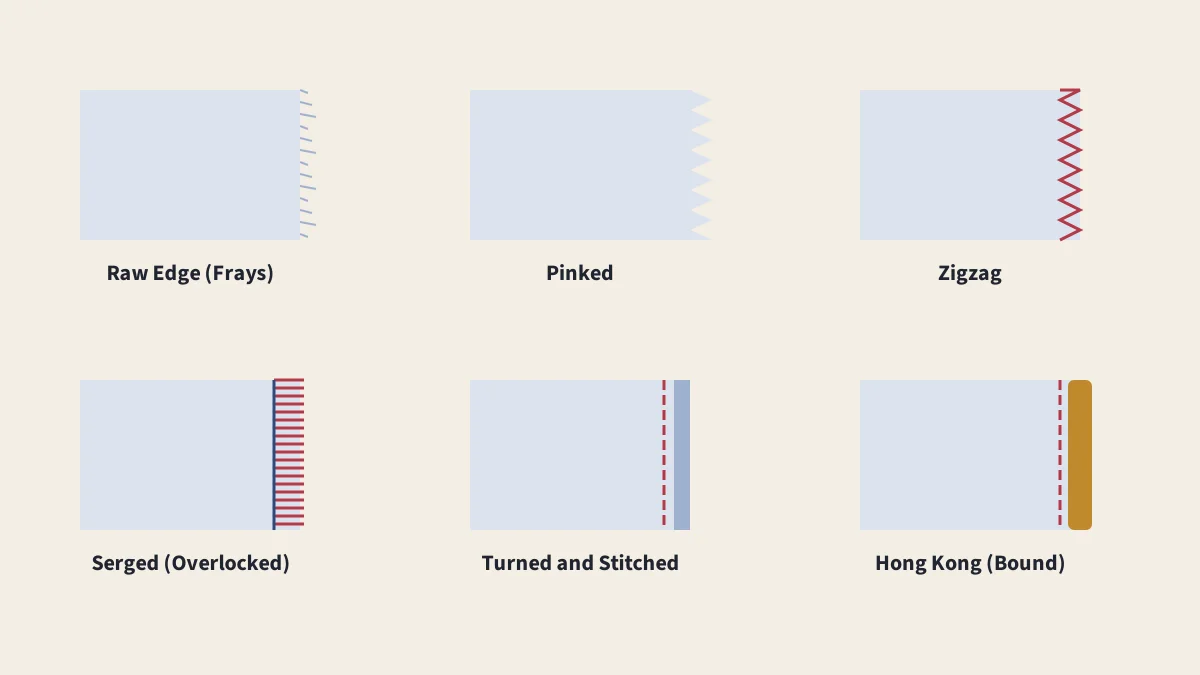
Seam Finishes
Pinked, zigzag, serged, Hong Kong, bound and enclosed finishes.
Interfacing Types
Fusible vs. sew-in, woven vs. nonwoven vs. knit, and how to apply it.